Install on Windows
This chapter guides you through the installation process of Video Processing Platform, including Video Processing Platform prerequisites, Video Processing Platform, and Video Processing Platform Station on Windows OS.
To install the Video Processing Platform on the Windows environment, you need to match some general requirements and have your license ready. If you are not prepared yet, please return to the introduction to installation.
Video Tutorial
If you prefer a video step by step guide please watch the prepared tutorial video. If you prefer to read a step by step guide, please skip this section and navigate to the General requirements section.
General requirements
There are several requirements on an operation system and other software that is needed for successful installation of the Video Processing Platform on Microsoft Windows.
- CPU with support AVX2 instruction set, eg Intel Haswell microarchitecture or AMD Zen family
- Operating system: Windows Server 2016 (x64), Windows Server 2019 (x64), Windows 10 PRO (x64), Windows 11 PRO (x64)..
- English language pack with English character set
- Do not use any other Windows 10 edition than Windows 10 PRO edition and use Windows 10 only for evaluation purposes. For production, use Windows Server or Linux OS.
- Windows 10 N edition is missing Media Feature Pack. It is required that this pack is installed on the machine for proper functioning of the Video Processing Platform.
Download Installation Files
All of the Installation Files are available at our Customer Portal, you can login with your credentials.
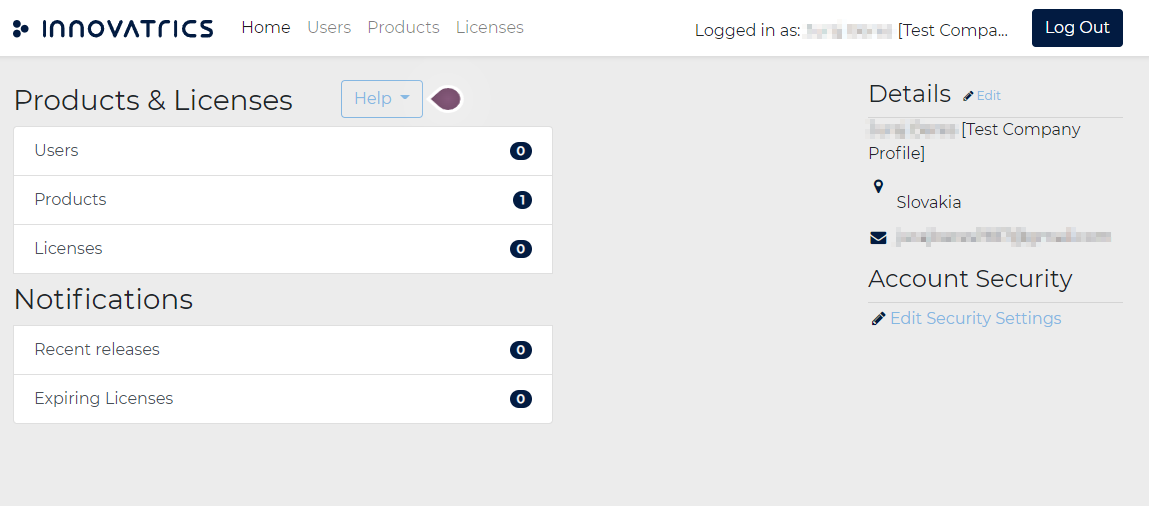
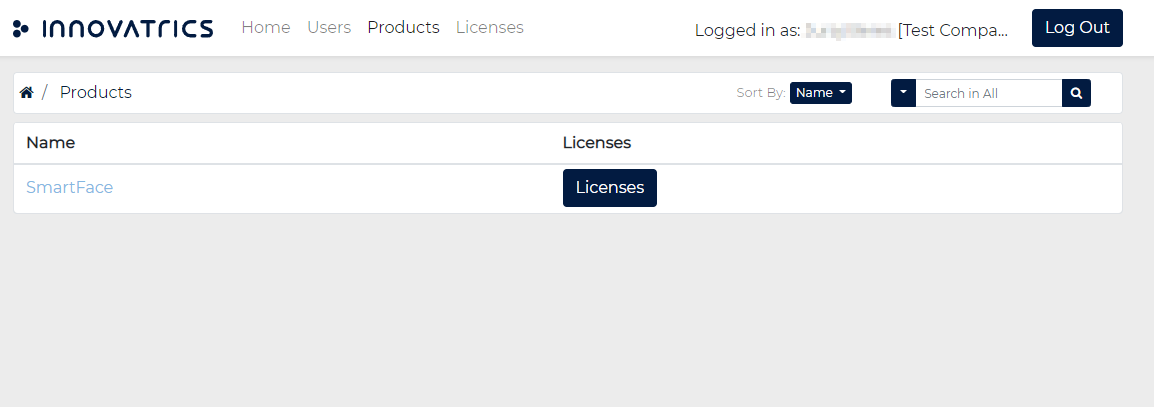
- At the Customer Portal access Products on the top menu bar or through Home > Products & Licenses > Products
- Click on the name of the Video Processing Platform product and then on the Video Processing Platform page choose the current release version - major version first, then the release itself.

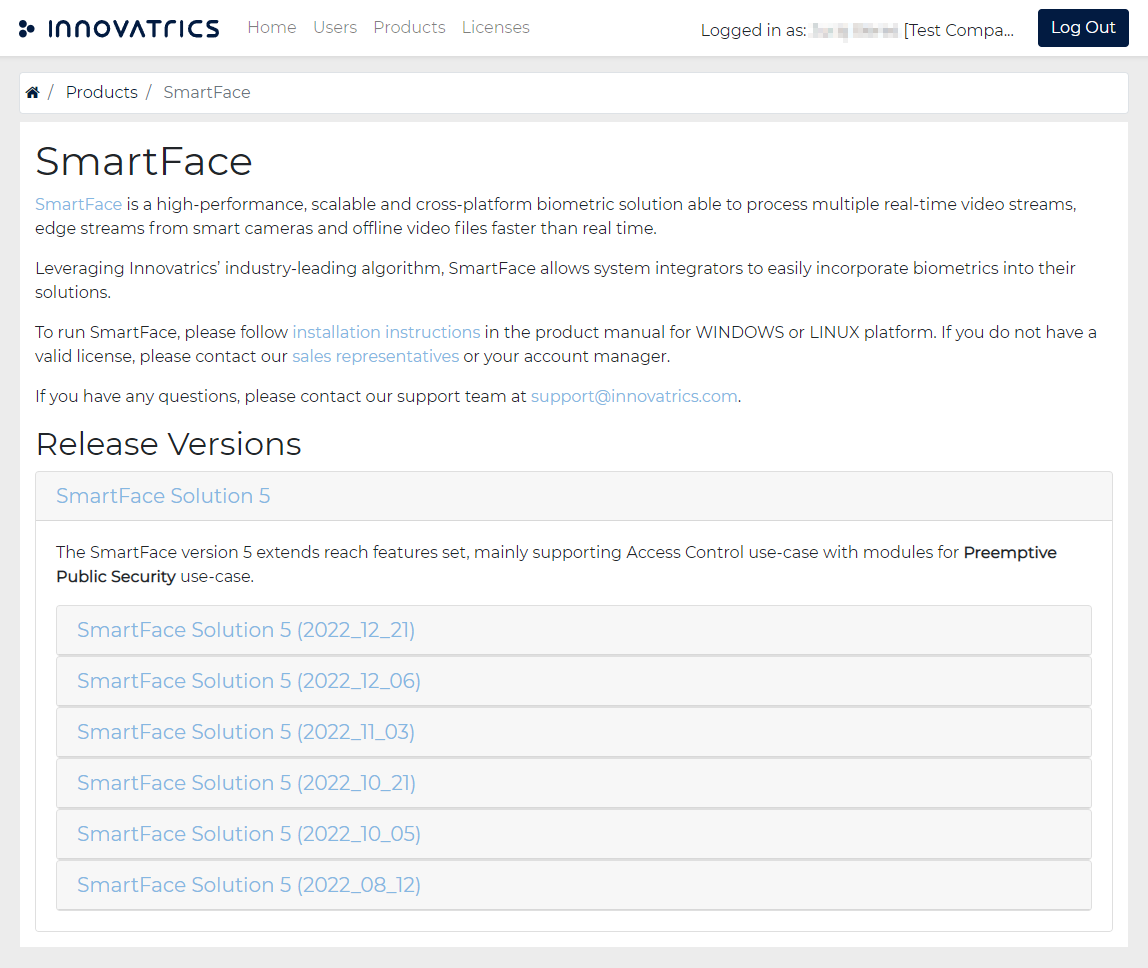
- Under the Downloads section you can download all the installation files. Several files have a version number in the file name, such as SmartFace_PreReq_Installer_X.Y.Z.exe (X.Y.Z. is the version number). Please use Installation Files combination from one release only.
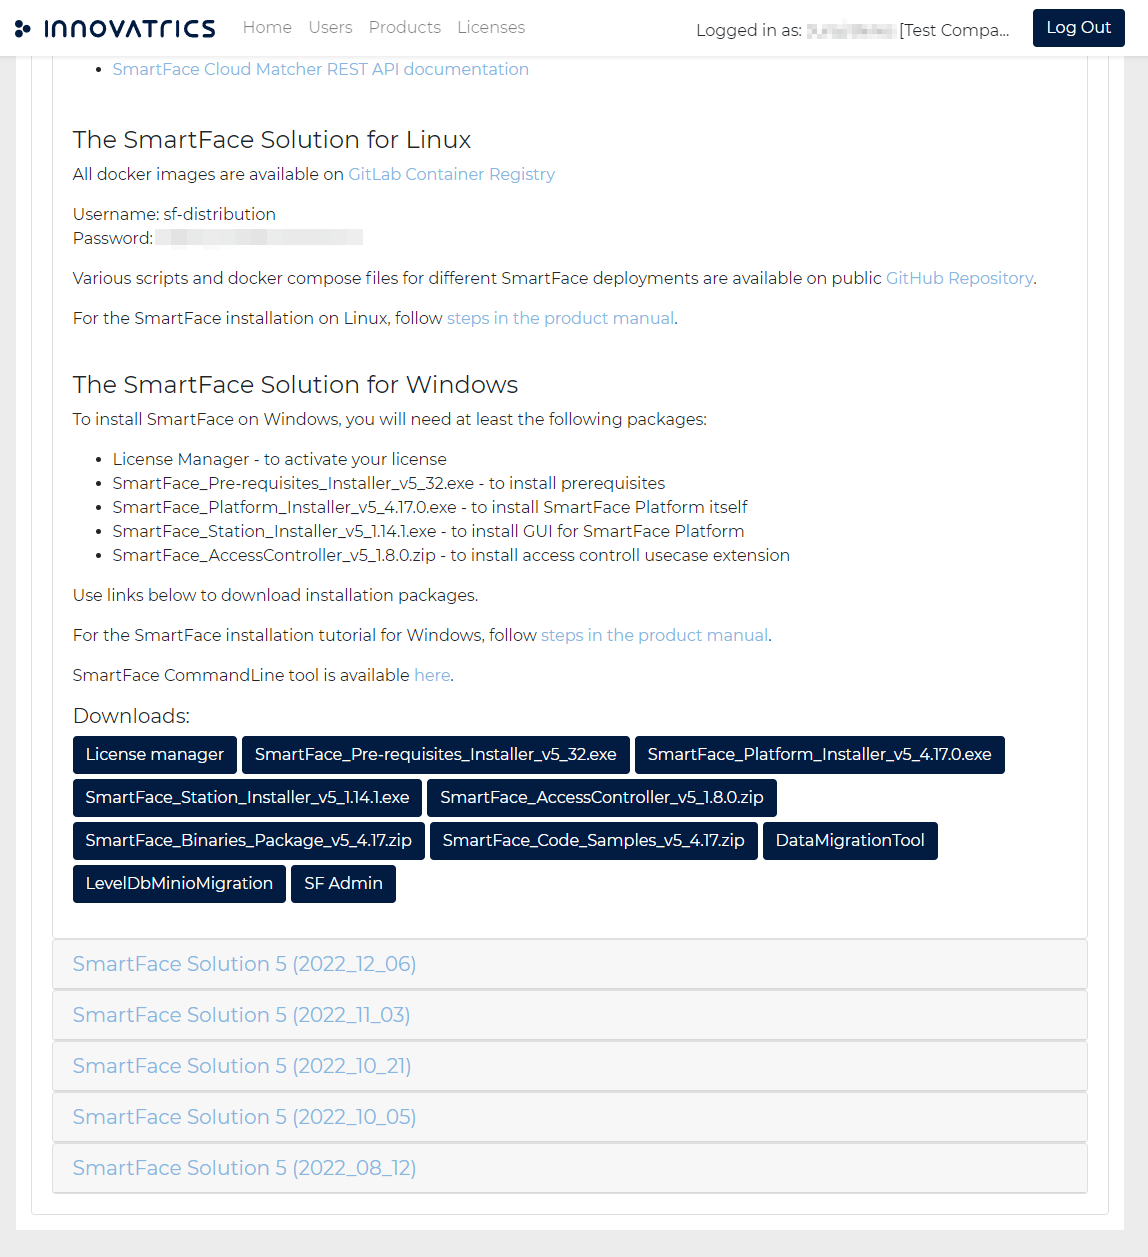
Once you have all the necessarry files downloaded, in the Microsoft Windows setup you need to install several packages. The combination of packages might differ per use case. For our initial installation please install the set as follows:
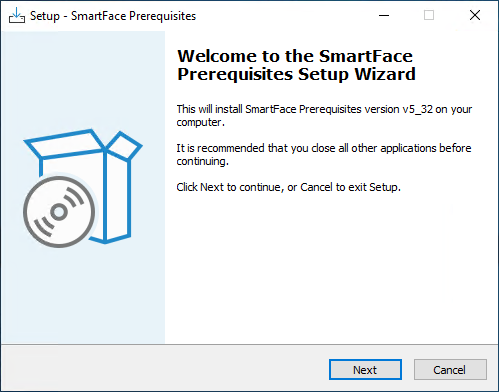
Install the Video Processing Platform Prerequisites
Prerequisites can be installed manually, or automatically by using the Prerequisites installer. The Prerequisites installer requires internet connection and it installs and configures the software prerequisites on the server before you start the Video Processing Platform installation.
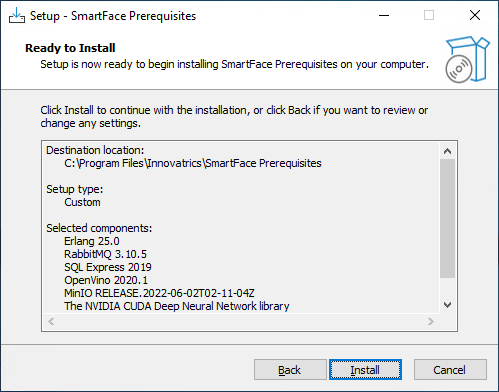
The installer deploys the following components:
Microsoft SQL Server Express 2019
Prerequisites installer installs the Microsoft SQL Server Express 2019 and sets up a database and creates a database user for the Video Processing Platform. The maximum size of the Microsoft SQL Server Express database is 10 GB and is suitable for small-scale deployments. For advanced, complex and distributed installation please contact us directly for more information. The default parameters are as follows:
- SQL instance: localhost\sfexpress
- SA password: smartface
- DB user: smartface
- password: smartface
- RabbitMQ
- Erlang
- Microsoft Visual C++ 2015-2019 Redistributable (x64)
- OpenVINO Toolkit
- NVIDIA cuDNN
- NVIDIA TensorRT
Prerequisites installer installs NVIDIA libraries in the
c:\Program Files\innovatrics\smartfacedirectory by default. If the installation directory is different, then these libraries need to be copied manually.
Execute the Prerequisites Installer
- Run the SmartFace_PreReq_Installer_X.Y.Z.exe as an administrator (select Run as administrator). Click Next to continue.
- Select an installation path or keep it as per default setup, then click Next

- The wizard checks whether any of the prerequisites have already been installed. Select the components which you want to install and click Next. By default, all options are selected.

- Review the selection and click Install.
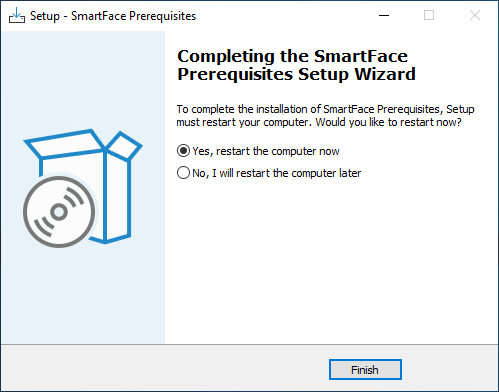
- Wizard will install all the selected prerequisites. Once the installation is finished, click Finish to restart the computer.

Install the Video Processing Platform
Please make sure you have installed all the prerequisites and deployed the license before starting the Video Processing Platform installation. If you have used the Prerequisites installer, the default values are prefilled.
To install Video Processing Platform, perform the following steps:
- Run the SmartFace_Platform_Installer_x64_X.Y.Z.exe installer as an administrator (select Run as administrator).
- Accept the license agreement and click Next.

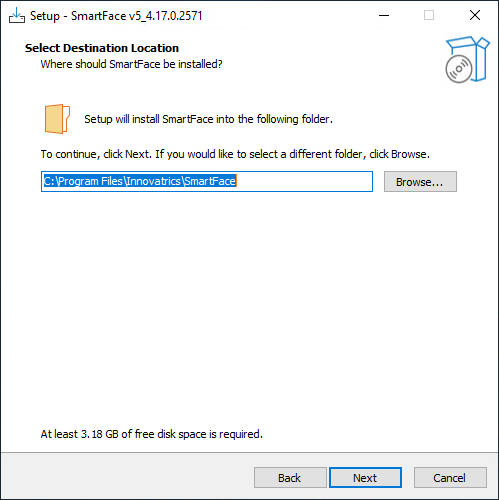
- Select a destination, where the Video Processing Platform will be installed. By default, it is
C:\Program Files\Innovatrics\Video Processing Platform. Click Next.
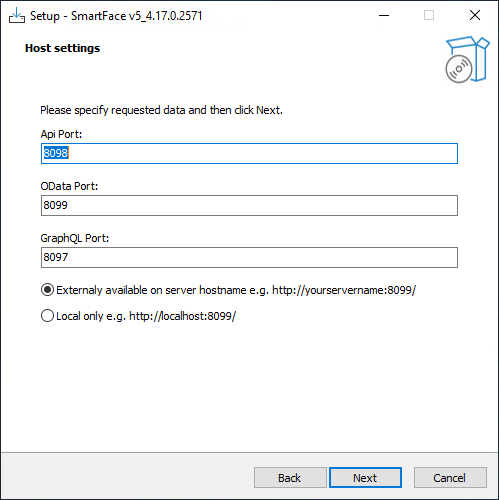
- Fill in the Host settings and click Next.
- Port for Video Processing Platform API endpoint. The default value is
8098. The API endpoint will be available on the following addresses:- REST API port:
8098 - GraphQL Port:
8097
- REST API port:
- Choose the availability of the Video Processing Platform API:
- Externally available: API is available from outside of the server
- Local only: API is available only from the localhost
- Port for Video Processing Platform API endpoint. The default value is
Fill in the SQL database connection settings and click Next.
If you have used the Prerequisites installer, the default values are pre-filled. Otherwise, you should provide the following information:
- MsSql server instance — an instance of the database engine, e.g.:
localhost\sfexpress: default instance of Microsoft SQL Server Express installed by the Prerequisite installerlocalhost\SQLEXPRESS: default instance of Microsoft SQL Server Expresslocalhost: default instance of Microsoft SQL
- Database name
- User name
- Password
- MsSql server instance — an instance of the database engine, e.g.:
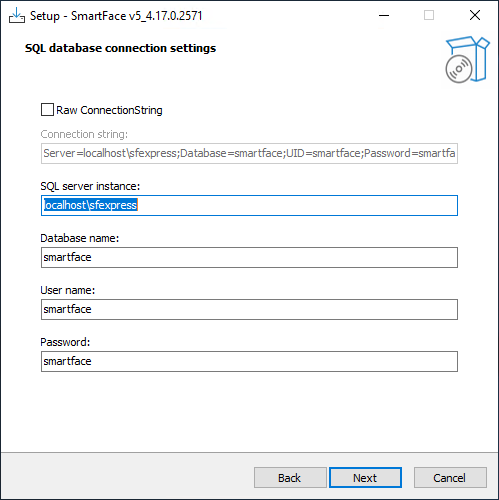
You can also select Advanced connection string settings and build the connection string yourself:
The connection string includes the following parameters, which are semicolon-separated:
- data source=
SQLserverinstance; (typically localhost or servername or localhost\SQLEXPRESS) - initial catalog=
databasename; - User ID=
username; - Password=
password; - multipleactiveresultsets=
False; - connect timeout=
60;
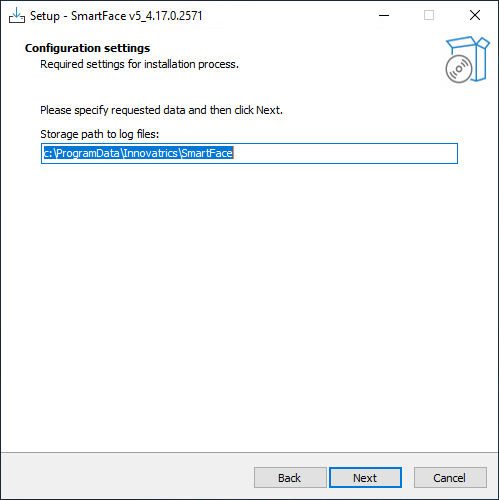
Fill in the Configuration settings and click Next.
Path to NoSql database. By default, it is C:\ProgramData\Innovatrics\Video Processing Platform\Data. It is recommended to use a standalone disk (where the OS is not installed) with enough space for storing images from camera streams;
Path to log files. By default, it is C:\ProgramData\Innovatrics\Video Processing Platform
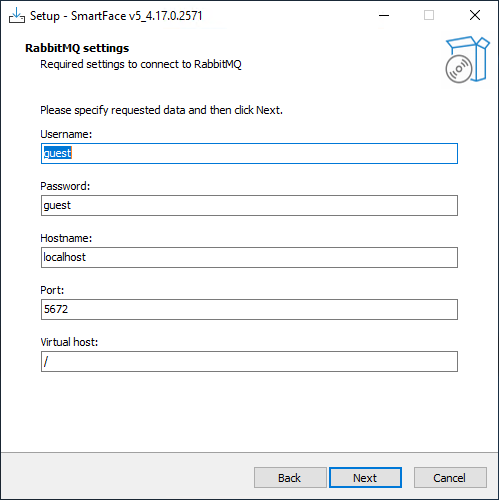
- Fill in the RabbitMQ connection parameters and click Next.
Please provide connection information for RabbitMQ.
- Fill in the S3 settings - settings for S3 blob storage (MinIO) and click Next.

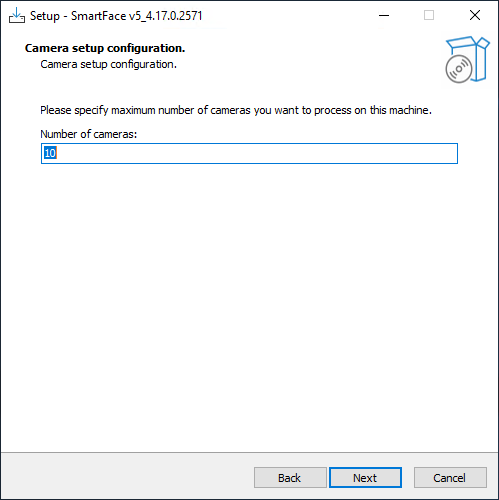
- Setup camera configuration and click Next.
Define the maximum number of cameras that could be registered during installation. This number determines the maximum number of cameras which will be possible to create, as each camera processing is handled by one process (SmartFace_Camera service).
The highest number which can be entered is 100. For each camera, one Windows service needs to be registered.
- Set up the Database cleanup and click Next.
- Set up the daily database cleanup
- Enable database cleanup (checked by default): Enables the daily database cleanup. Then, fill in Time of day when the daily database cleanup should run. The time is specified in the hh:mm:ss format in the UTC time zone.
- Set up the cleanup of SQL and NoSQL records related to faces and images.
- For removed images also delete (checked by default): Deletes all SQL and NoSQL records related to faces and images. To delete only full images from streams in the NoSQL database, clear this checkbox.
- Deleted stored images: cleanup process deletes all image data older than the entered value (in days).
- Set up the cleanup of match results.
- Enable if you want to cleanup also match results for faces which are no longer present in database (were deleted).

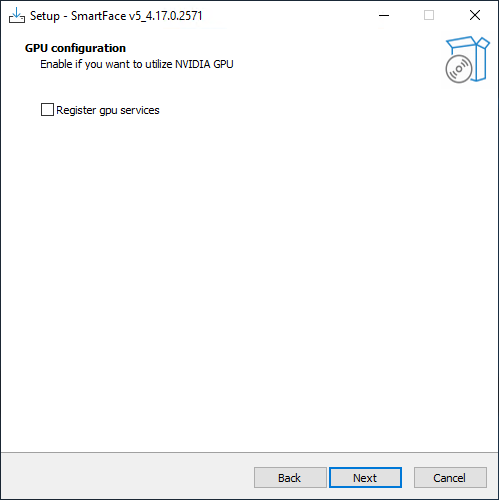
- Set up the GPU configuration and click Next. Windows services with GPU support will be installed on the system that belong to the CPU services.
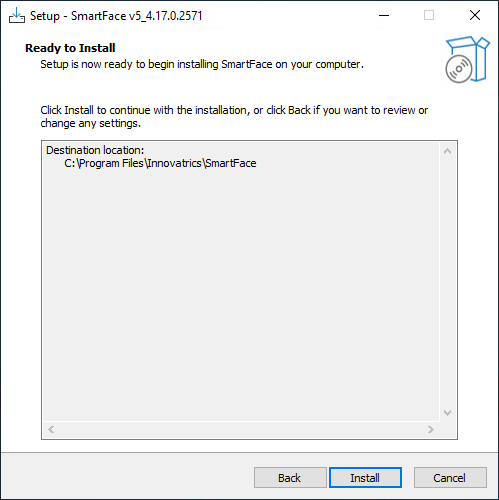
- Click Install to initialize the Video Processing Platform installation.

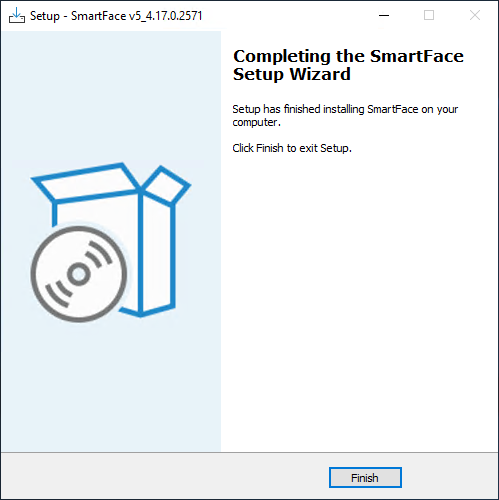
- Once the installation is sucessfully finished, please click Finish.
Install the Video Processing Platform Station
Please make sure the Video Processing Platform is installed before proceeding with the Video Processing Platform Station installation. To install Video Processing Platform Station please perform the following steps:
- Run the SmartFace_Station_Installer_vX_Y_Z.exe as an administrator (select Run as administrator). Click Next to continue.

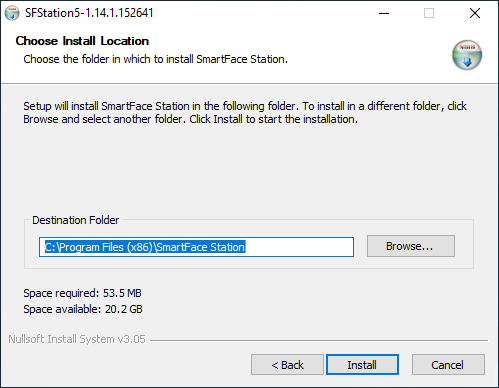
- Choose the installation location and click Install.
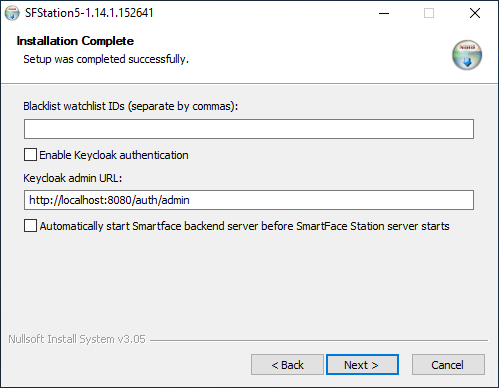
- Once the installation is completed sucessfully you can set URL, endpoints and ports for the Video Processing Platform Station. Once set, click Next.
- Video Processing Platform core server API URL - the URL where the Swagger and the REST API is available.
- Address to Access Controller gRPC endpoint - the URL that Video Processing Platform Station connects to receive gRPC notifications from the Access Controller module.
- Host (IP address where SF Station server listens for requests) - the default
0.0.0.0means that all IPv4 addresses are listened to. - Port (port where SF Station server listens for requests) - the default is
8000. This is where you access Video Processing Platform Station with your browser.

- Additional settings can be adjusted, such as Blacklisted watchlists - watchlists of member with restricted access or to setup the Keycloak Authentication. Click Next.
Apply License
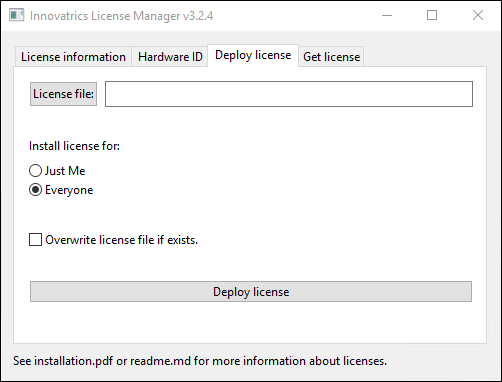
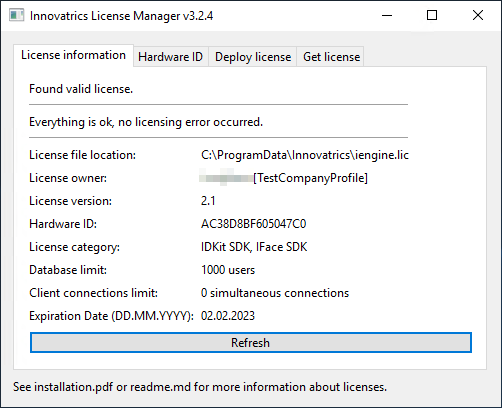
Open the License Manager and click on the Deploy license tab. Click the License file: button and choose the license file. Once the correct file is selected, select to activate the license for Everyone and click on the Deploy license button.

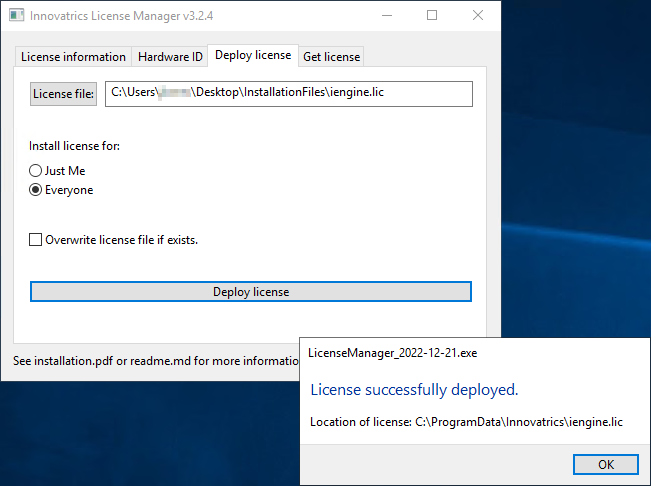
After a successful deployment you can see the license in the License information tab. If you do not see your license please click Refresh.
Run the Video Processing Platform
Once the Video Processing Platform is successfully installed it will be up and running automatically.
Validate your Installation
Once the services are up and running you can visit the port 8000 on your installation machine in your preferred browser. Such as the URL:
http://localhost:8000
After the Video Processing Platform is installed, you can also view the status of the following services in Task Manager services tab (depending on your installation settings). These services should be in running state.
You can also get the list of running services with the following command: Get-Service -Name "SF*". Please keep in mind this is not the final list and the list presented will differ based on your installation.
The results would be as below:
Status   Name               DisplayName
------   ----               -----------
Running  SFAccessController Video Processing Platform AccessController
Running  SFApi              Video Processing Platform API Service
Running  SFBase             Video Processing Platform Base Service
Running  SFCam1             Video Processing Platform Camera 1 Service
Running  SFCam10            Video Processing Platform Camera 10 Service
Running  SFCam11            Video Processing Platform Camera 11
Running  SFCam2             Video Processing Platform Camera 2 Service
Running  SFCam3             Video Processing Platform Camera 3 Service
...
After Installation
Once your installation is done and your Video Processing Platform is up and running, you can follow an additional tutorial guiding you through your first steps after installation of the Video Processing Platform - registering a Watchlist Member, adding a camera and getting you first identification.
Using Docker in Virtual Machine
The Video Processing Platform is supported using Docker in the Linux Environment, including Linux Virtual Machines running on the Windows host machines. Such a Virtual Machine environment is suitable for evaluation. For a production environment we suggest using Docker environment on Linux or virtual environment on Linux.
One of many possible ways to get a Linux Virtual Machine suitable for the Video Processing Platform evaluation is the Hyper-V available for professional and enterprise grade editions of the Microsoft Windows operating system.
Video Processing Platform version 4.10 and higher versions require the CPU support AVX2 instruction set , eg Intel Haswell microarchitecture or AMD Zen family. If you have a suitable machine, open the Hyper-V Manager.
Please proceed with the following actions:
- Within the Actions menu on the right click the Quick Create.
- Select the latest Ubuntu LTS OS from the available options (higher the number, later the version). Version Ubuntu 22.04 LTS and later are fully suitable.
- Click More options and choose a suitable name, such as Video Processing Platform and ensure the Default Switch is selected for the Network
- Click Create Virtual Machine
Now the Hyper-V will download needed VM image and a new Virtual Machine will be created. Once the Virtual Machine is created succesfully:
- Click Edit settings…
- Go to Hardware>Processor and set Number of virtual processors to at least 4 depending on your machine. For more information about the hardware requirements please read the required hardware section
- Go to Hardware>Memory and set the preferred amount of RAM. Required minimum is at least 16GB. Under some circumstances a lower amount is sufficient but for the standard evaluation at least 16GB is needed. For mor information please read the required hardware section
- Click OK
- Click Connect. If the machine is not yet started, the Start button will be visible. Click it.
- The Ubuntu OS installation process will be initialized. Please proceed as per Ubuntu documentation
- Once the system is installed continue with the Install on Linux section