Install on Camera
This chapter guides you through the installation process of the SmartFace Embedded on Smart Cameras and the configuration of the Edge stream in SmartFace Station.
Video Tutorial
If you prefer a video step by step guide please watch the prepared tutorial videos. If you prefer to read a step by step guide, please skip this section and navigate to the General requirements section.
There are different video tutorials depending on the brand of the Smart Cameras.
Hanwha Cameras
Axis Cameras
General requirements
A Smart Camera with Ambarella SoC (CV28, CV25, CV22 or CV2) is required to install and run the SmartFace Embedded Stream Processor.
We are focusing on Hanwha P series and Axis M series cameras with AMbarella SoC on this page.
All supported Smart cameras and Edge devices are documented in the Required Hardware section
Download the SFE Stream Processor plugin
All of the Installation Files are available at our Customer Portal, you can log in with your credentials.
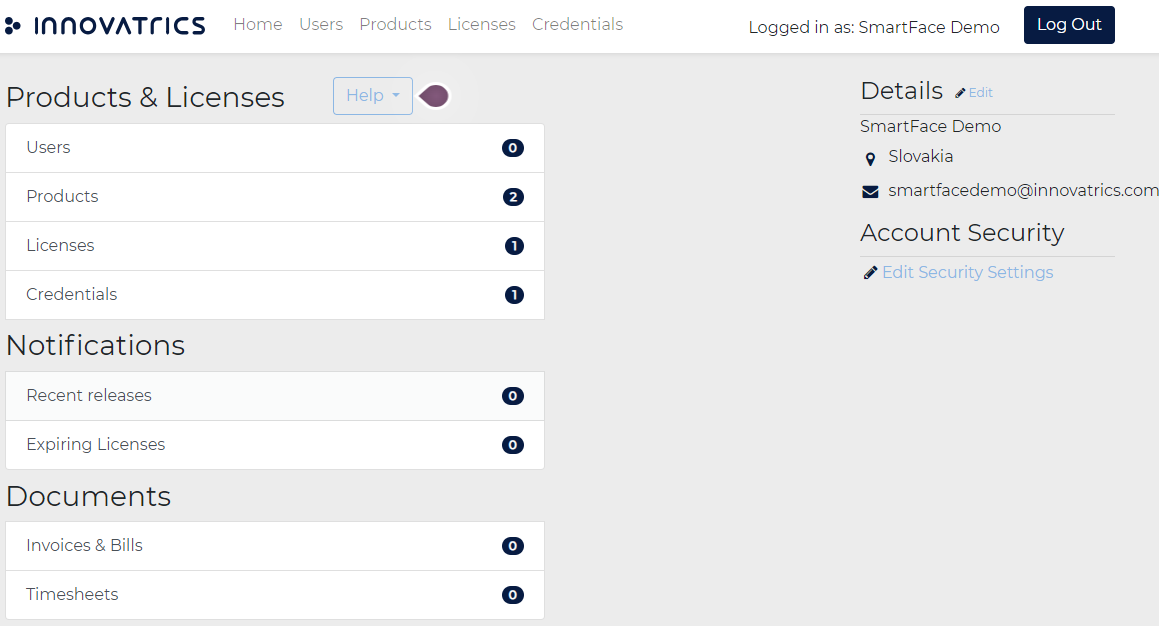
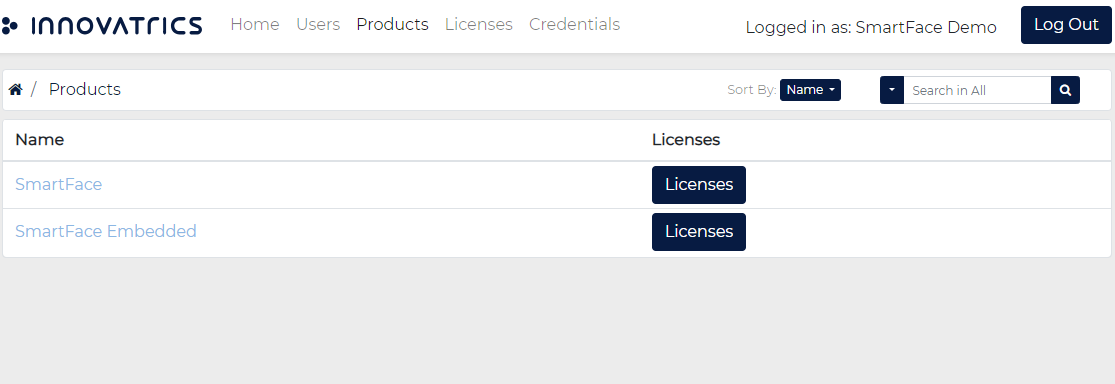
- At the Customer Portal access Products on the top menu bar or through Home > Products & Licenses > Products
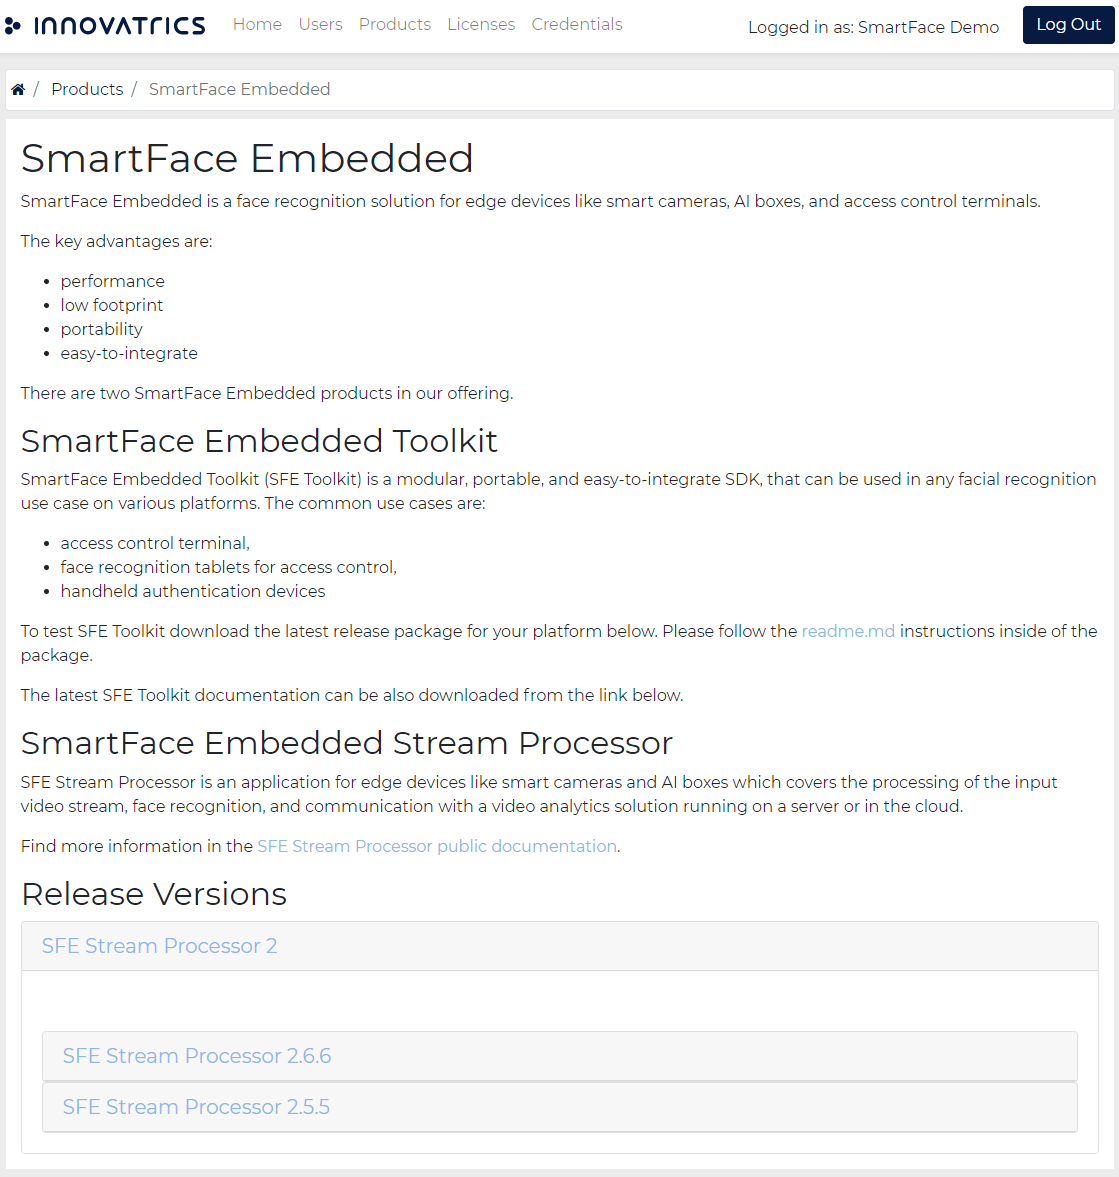
- Click on the name of the SmartFace Embedded product and then on the SmartFace Embedded page choose the current release version - major version first, then the release itself.
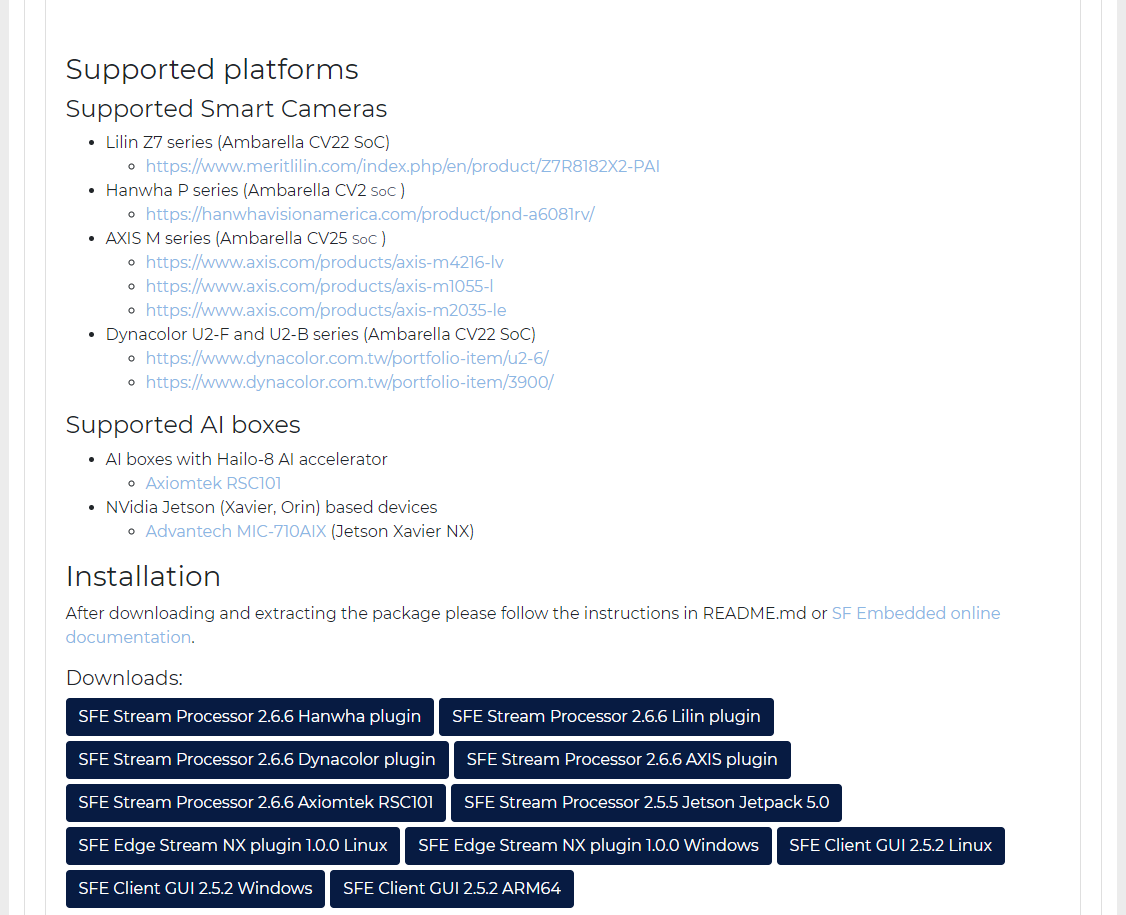
- Under the Downloads section, you can download the SFE Stream Processor packages for various cameras. The packages have a version number in the file name, such as SFE Stream Processor X.Y.Z
(X.Y.Z. is the version number). Please use the version recommended for the version of SF Platform you are using according to the Table of Releases.
Install the SFE Stream Processor
There are different video tutorials depending on the brand of the Smart Cameras. Currently the page describes step by step guides for the following brands:
If you are not using a Hanwha or an Axis camera please follow the installation guides for other supported cameras and devices
Hanwha camera plugin
- Extract the downloaded package.
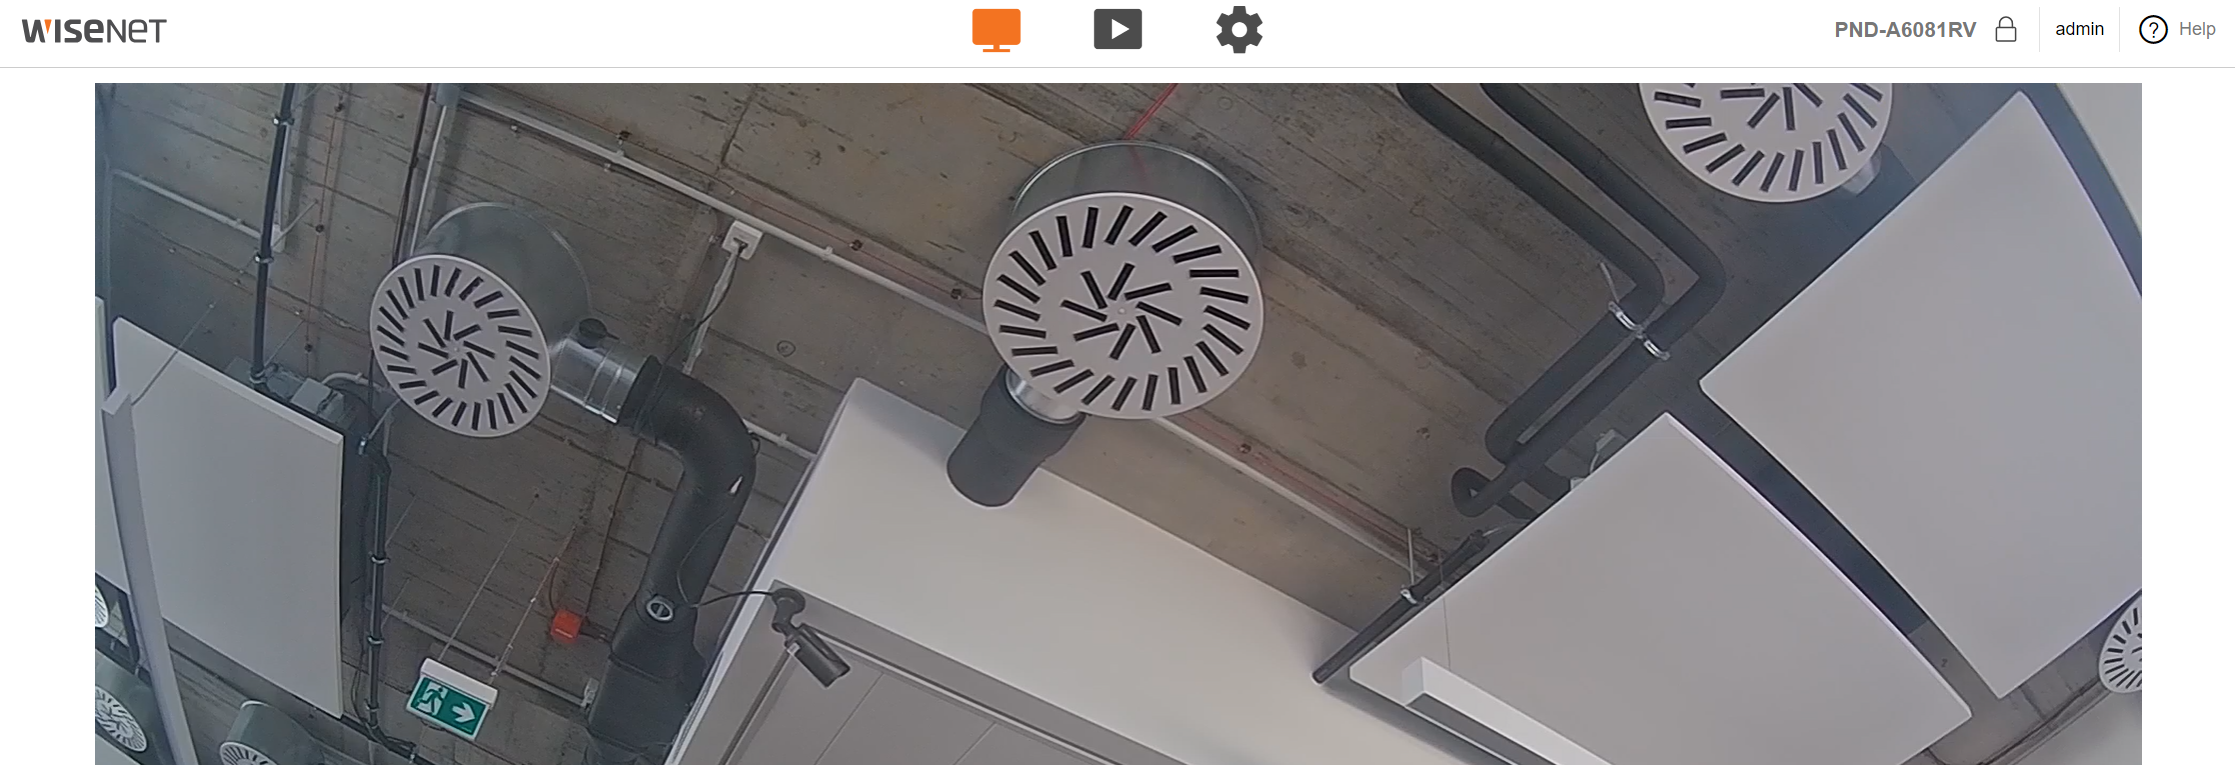
- Access the camera at the camera’s IP address/URL and log in.
- Go to Settings->Open platform->Open platform and click … to choose
SmartFaceEmbedded.capfile from your file system. Click Install to upload and install the application.
- When the application is installed you will see the new application
SmartFaceEmbeddedinstalled. To run the application click the Start button. When the application is running the Status changes toRunning....
- When the application is running you can also check the CPU and memory utilization as well as the run time of the application by clicking on the Health button.
- To stop the application uncheck the checkbox. When the application is not running the Status changes to
Stopped. - When the application is started you can also click on the Go App button to open the SFE Stream Processor configuration page.
- In the SFE Stream Processor configuration page, you need to configure the MQTT connection properly
Axis camera plugin
- Extract the downloaded package.
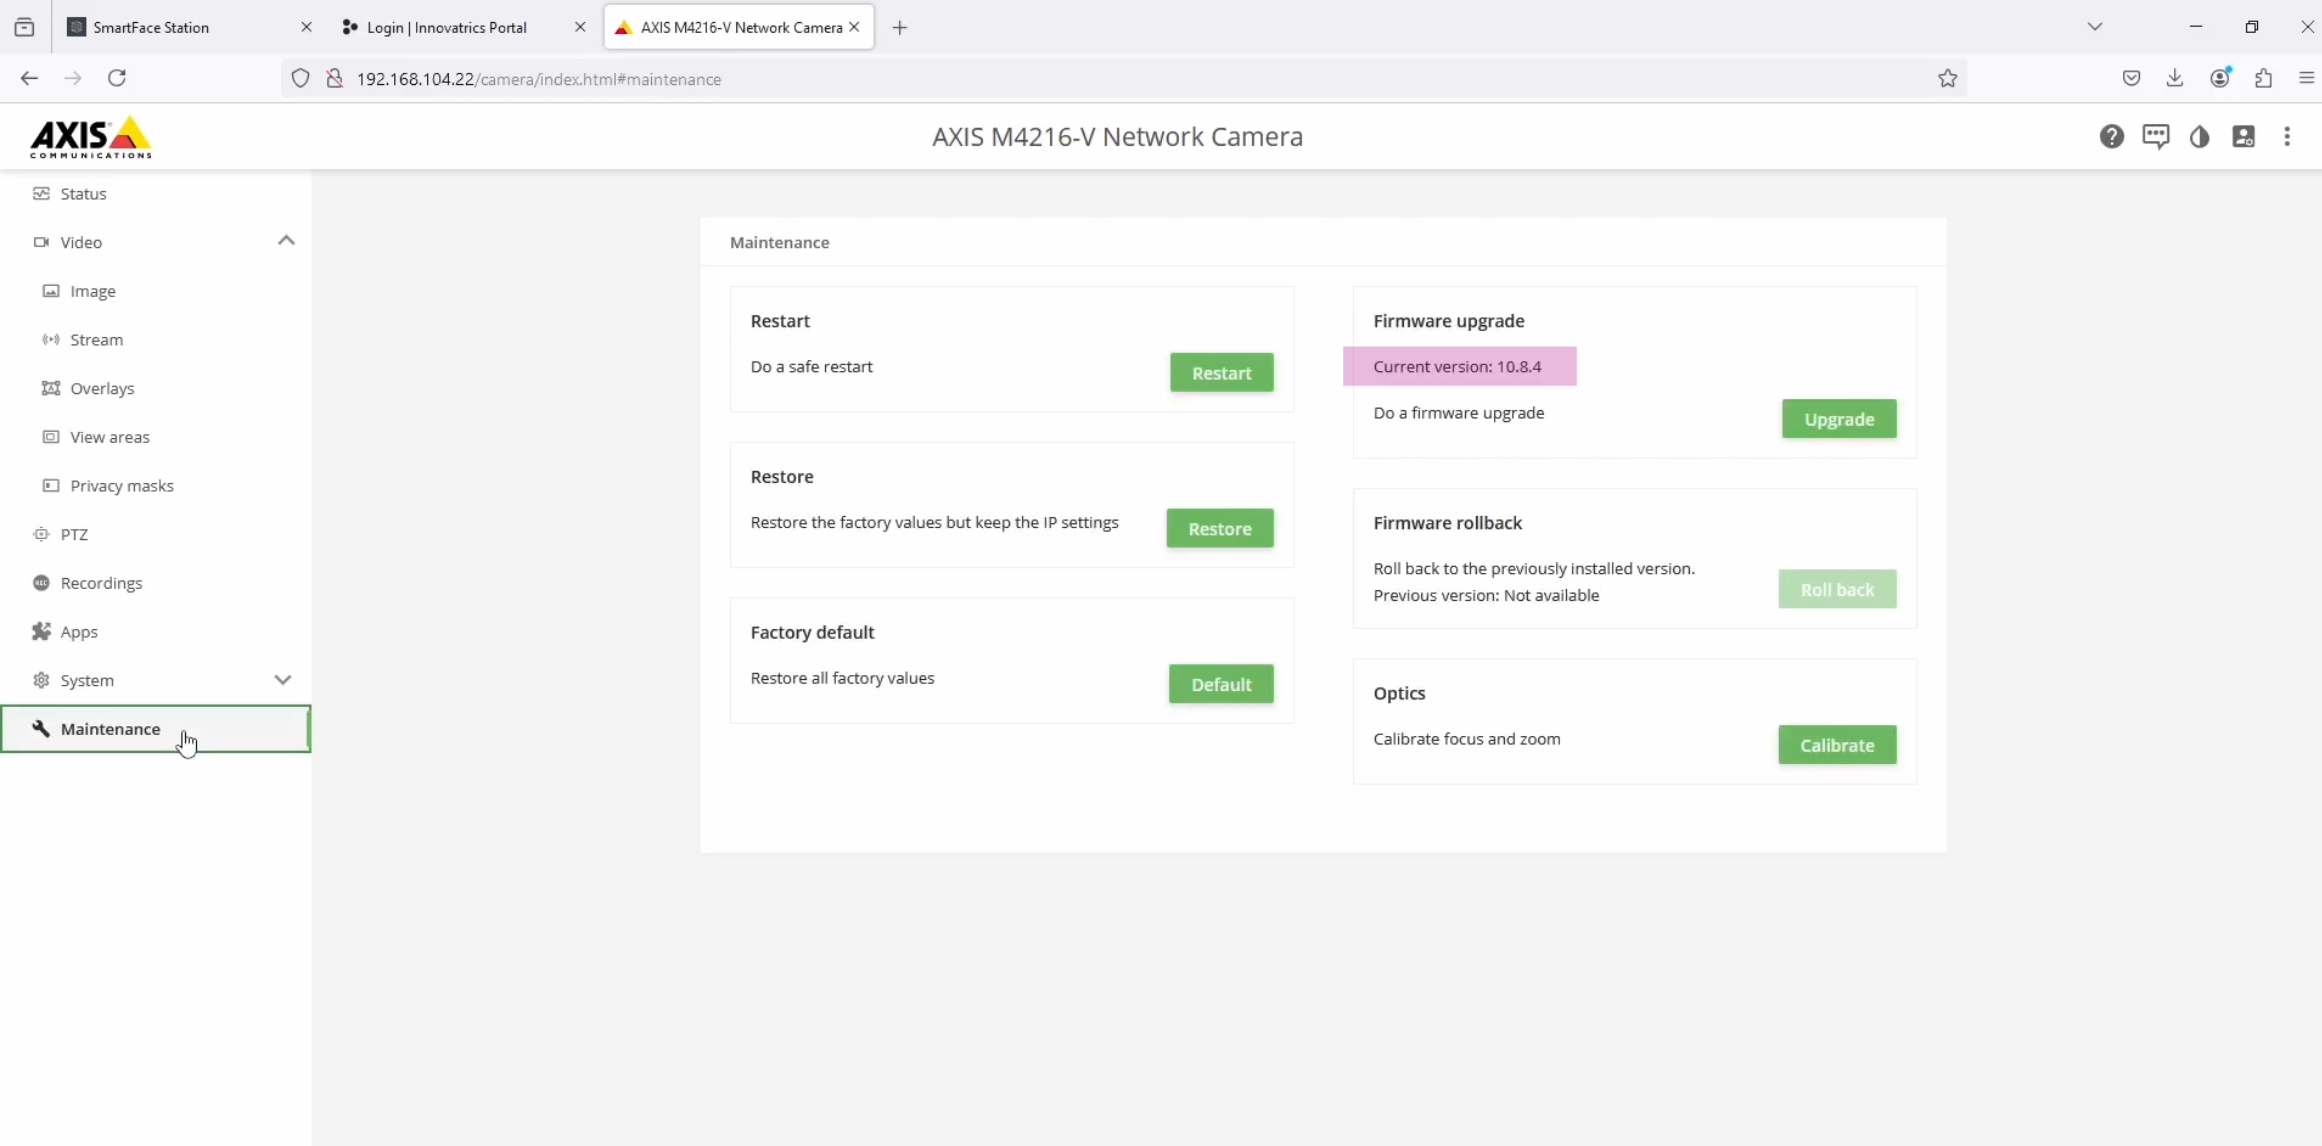
- Access the camera at the camera’s IP address/URL and log in. Open the Maintenance section in the left menu.
Check the Current version under the Firmware upgrade. Unless the version is 11.11.73 or higher, we need to update the firmware. We currently do not support version 12, please use only major version 11. If you already have a suitable version, skip this step.
- a. Copy the name of the camera, such as the M4216-V, avaialable at the top of the screen.
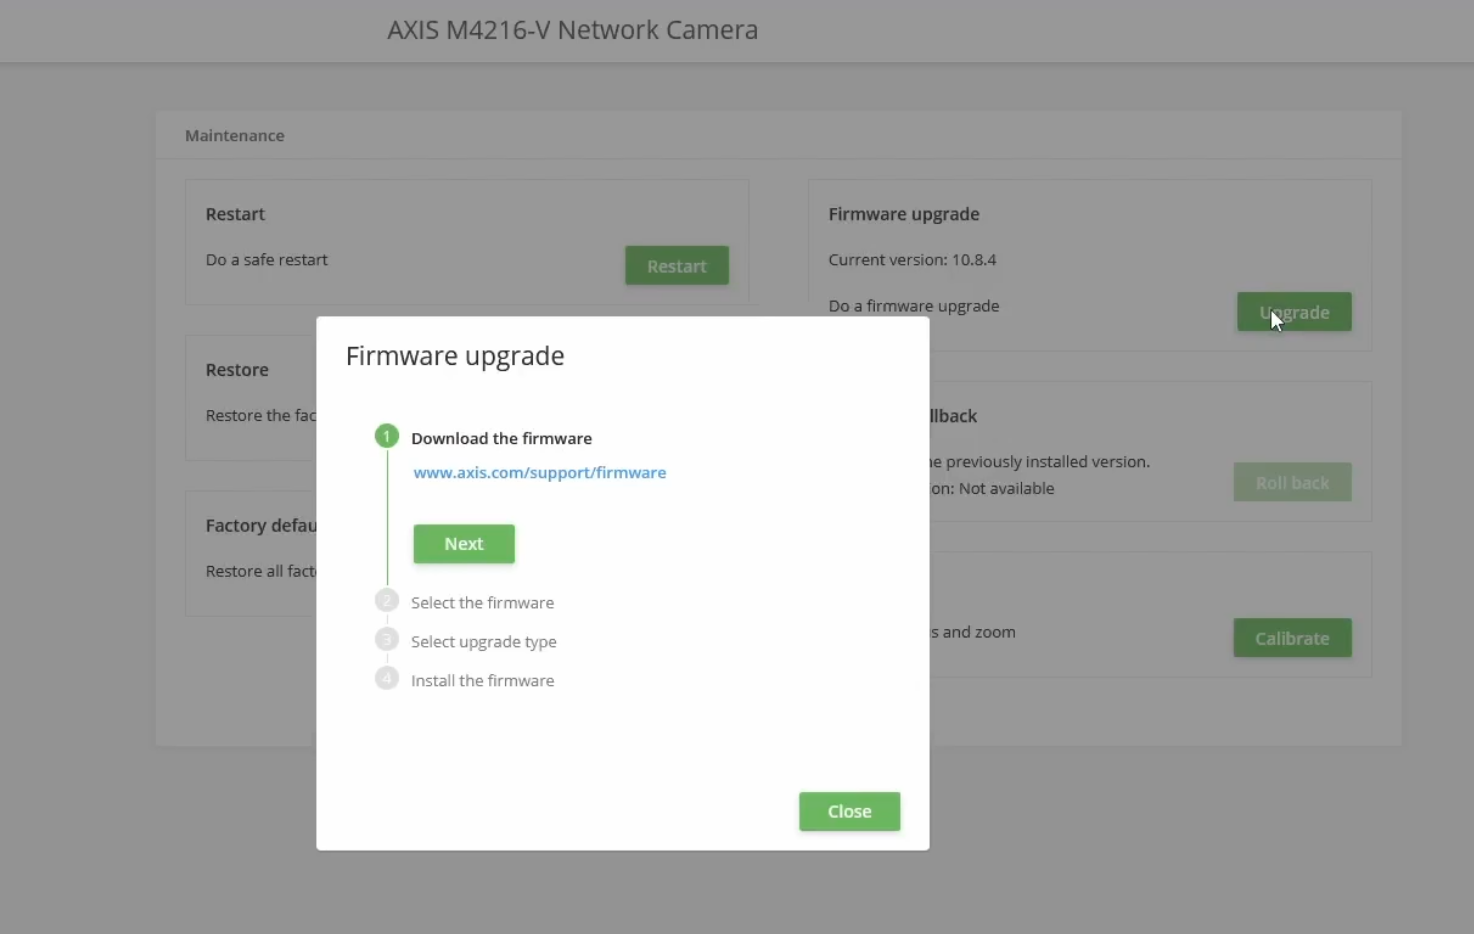
- b. Click Upgrade.
- c. Open the supporting website. Search for firmware using the camera model name. DOWNLOAD the latest firmware.
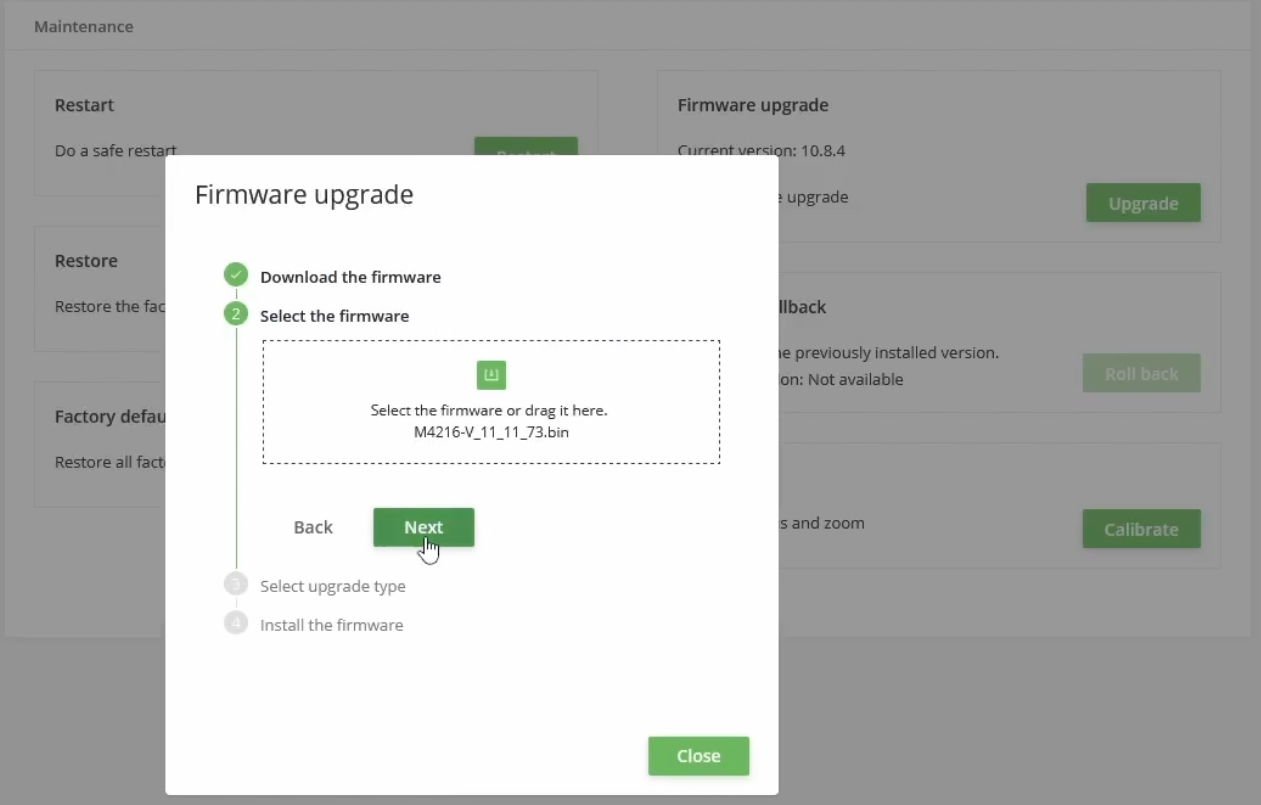
- d. Within the camera upgrade dialog click Next and use the firmware file. You can use the drag’n’drop feature. Click Next. In the “Select upgrade type” section choose Standard upgrade and click Next.
- e. Click Upgrade.
- f. Ensure the Current version is now at least 11.11.73. In the case there is an issue, restoring camera to Factory default before reapplying this step will likely fix your troubleshooting.
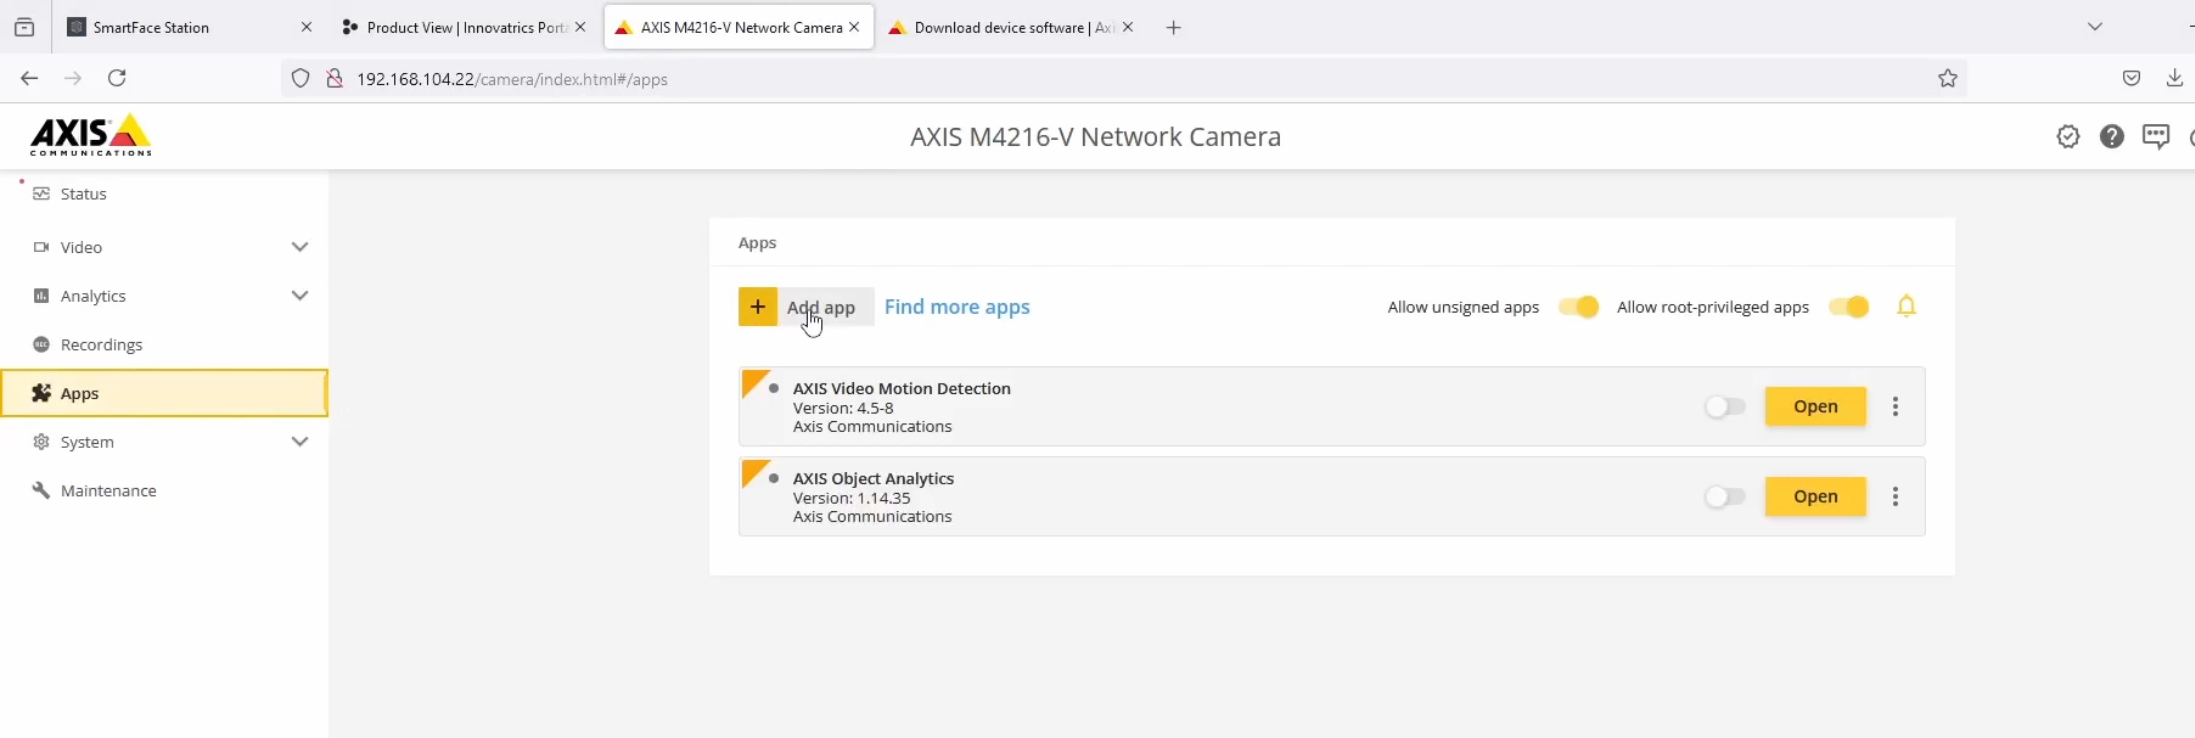
Go to Apps section in the left menu.
Click on + Add app button.
- Select or drag’n’drop the SmartFace Axis plugin (eap file). Click Install.
- Once installed, toggle the application to enable it. Click Open to open the SFE Stream Processor plugin.
Configure SFE Stream Processor
While in the SFE Stream Processor click on the Configuration button to open the configuration page.
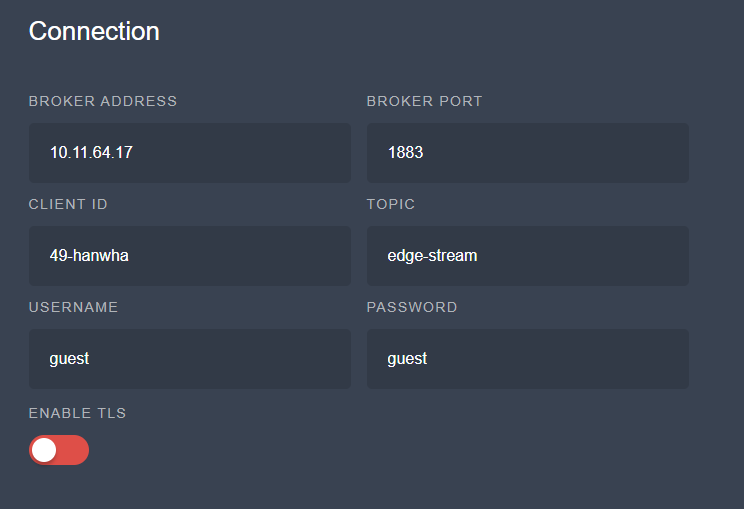
Configure MQTT connection
Configure the MQTT connection on the SFE Stream Processor configuration page
- Set BROKER ADDRESS to IP address where SmartFace Platform is running
- Set BROKER PORT to
1883(default MQTT port) - Set CLIENT ID to the unique identifier of the camera
- Set TOPIC to
edge-stream - Set USERNAME to
guest(default in RabbitMQ) - Set PASSWORD to
guest(default in RabbitMQ) - Optionally, you can enable TLS to encrypt communication between MQTT clients.
Scroll down and click the SAVE CHANGES button to save changes in configuration.
Refer to SFE Stream Processor configuration documentation for more information.
Run SFE Stream Processor
Click the LAUNCH button to start the SFE Stream Processor.
Apply License
Once the SFE Stream Processor is installed and running we set the license for each camera.
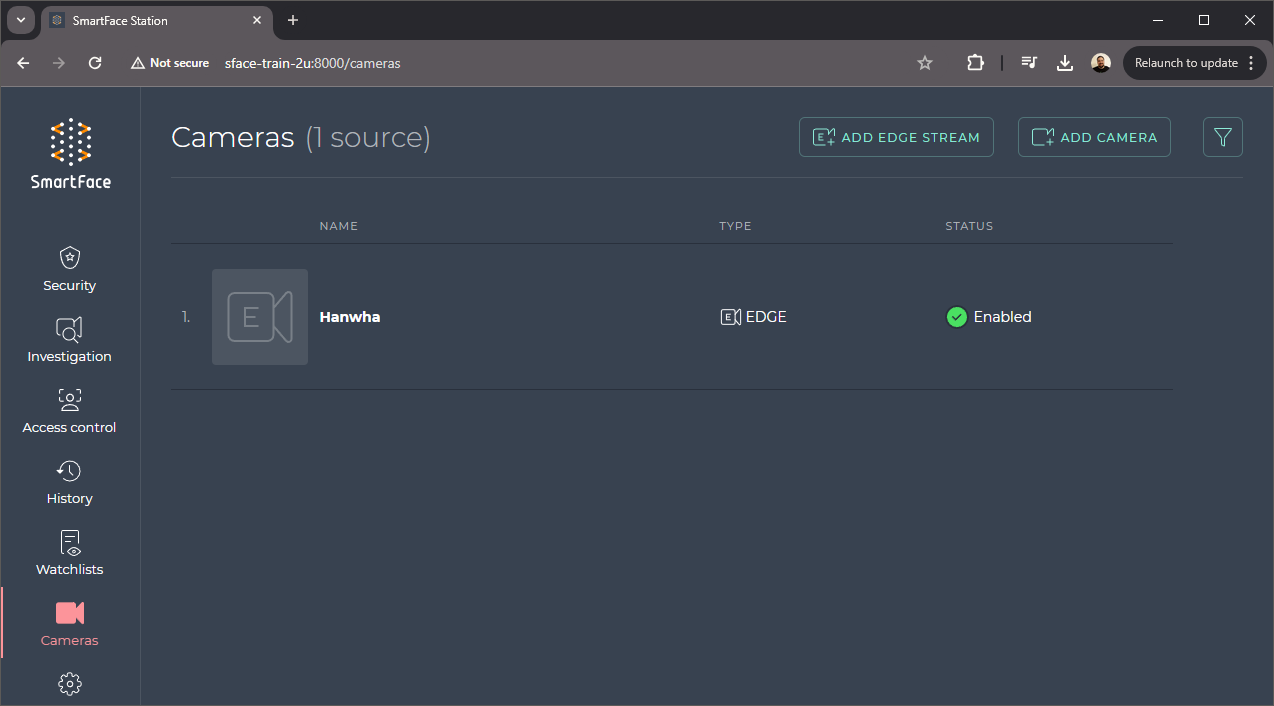
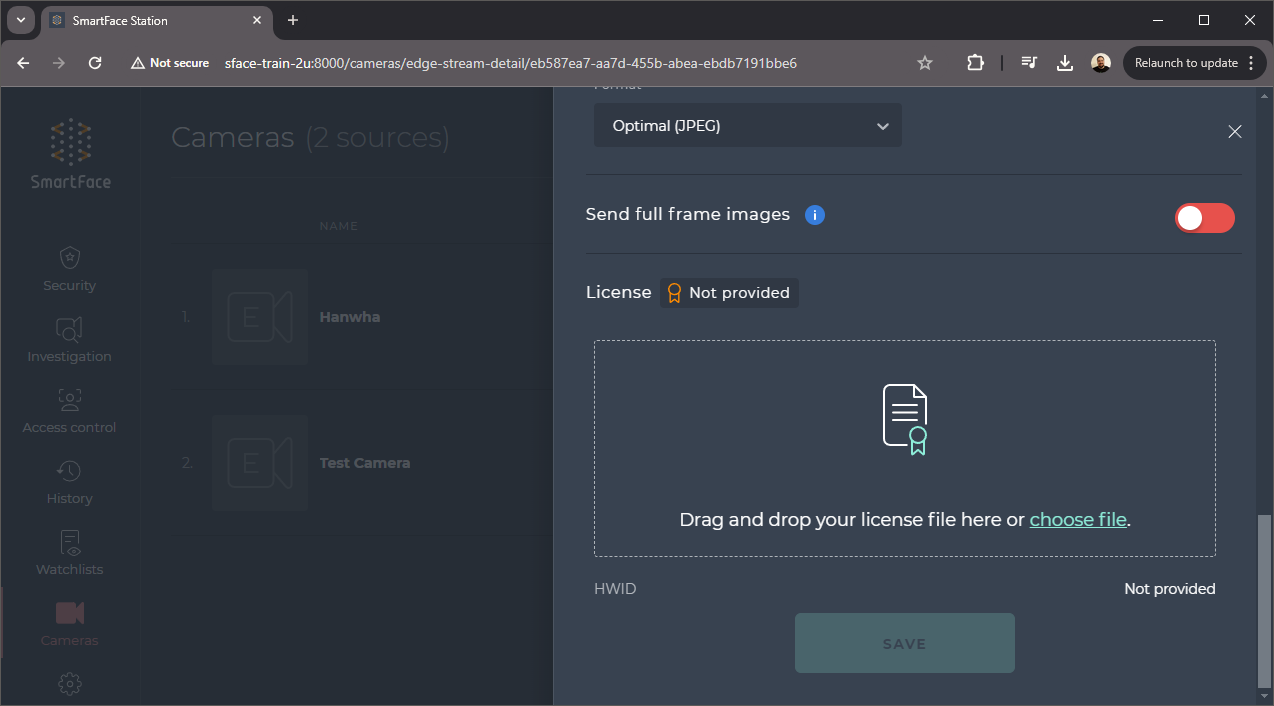
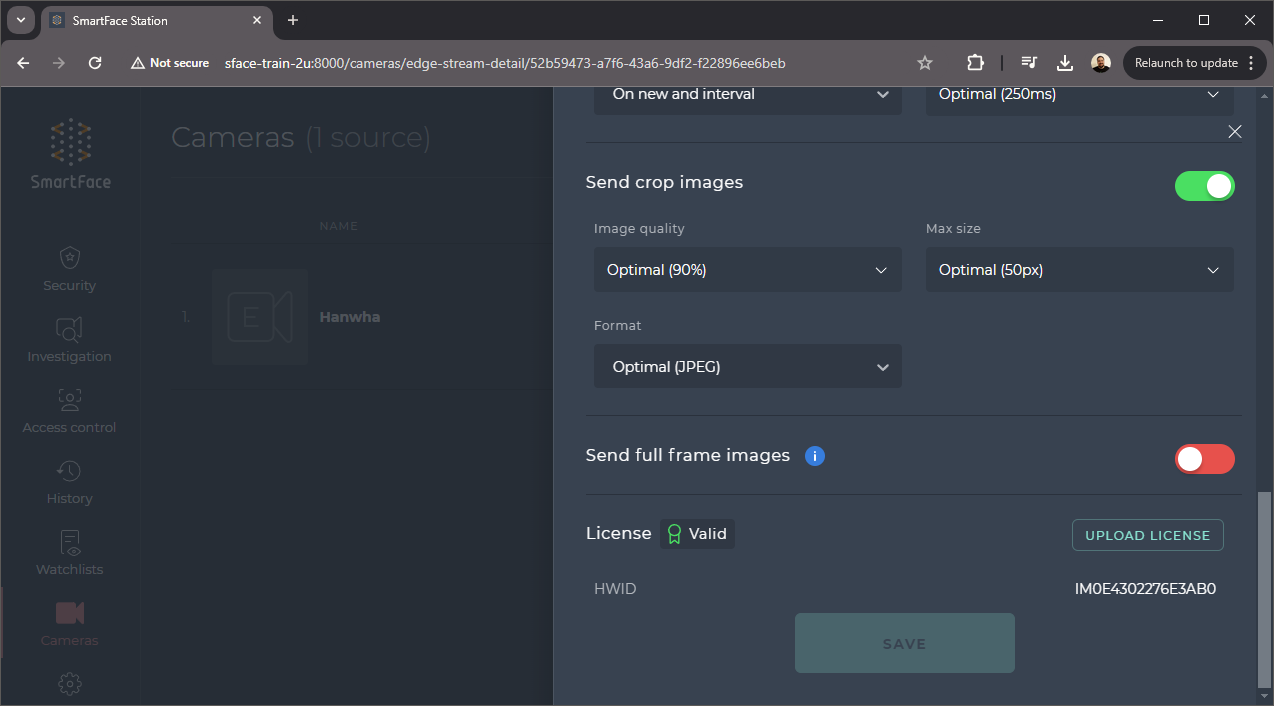
Navigate to your SmartFace installation’s SmartFace Station available at the port 8000. Open the Cameras tab. Open the installed camera.
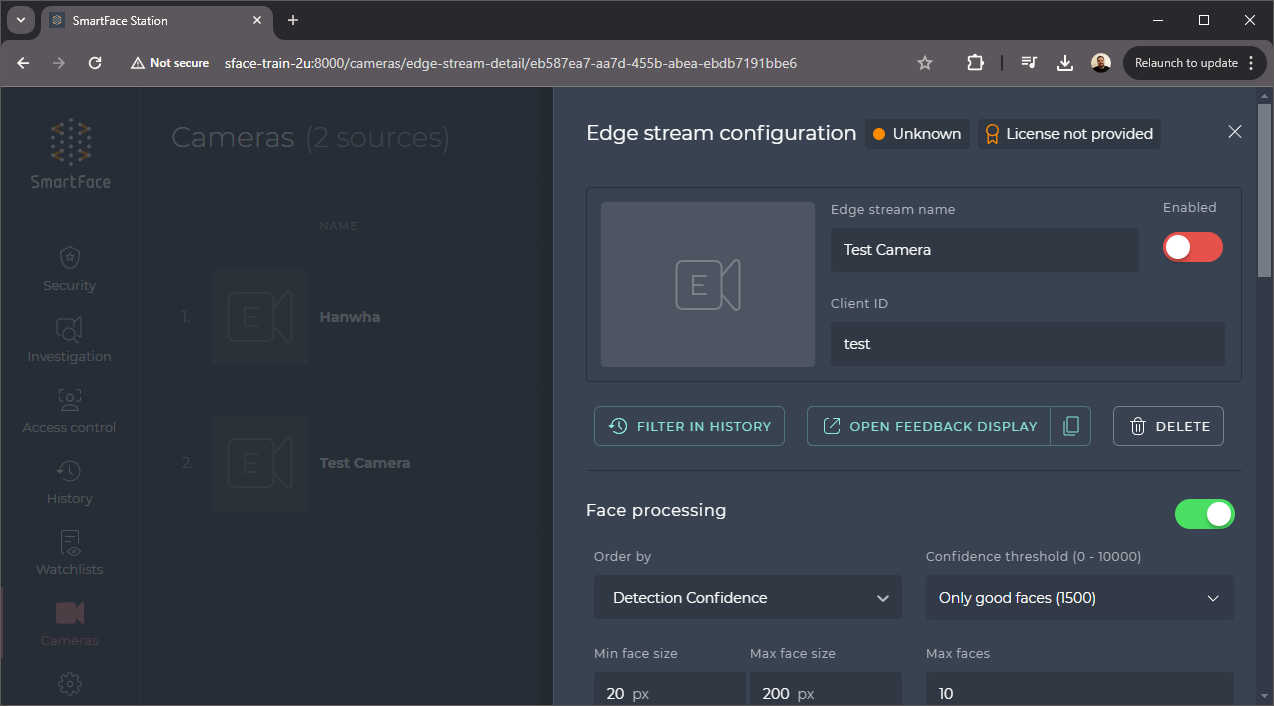
Enable the camera using the toggle button. Newly added Camera will have License not provided status.
Scroll down to the bottom of the camera’s properties to the license section. You can drag’n’drop or upload your license. Save the changes.
After a successful update of the license you will see License Valid with a green icon.
If everything is set correctly you will see Healthy status with a green dot.
Validate installation
Check the logs of the SFE Stream Processor on the SFE Stream Processor Log page if there is no error.
You can also use the SFE Client GUI Application to validate that the SFE Stream Processor is running and detecting faces.
After Installation
Once your installation is done and your SmartFace is up and running, you can follow an additional tutorial guiding you through your first steps after installation of the SmartFace - registering a Watchlist Member, adding an edge stream and getting you first identification.
