Manage watchlists
A watchlist is a named group of enrolled people with its own matching threshold and colour. Once members are registered, every camera and edge stream matches detected faces against the watchlists continuously and reports matches as events. The Watchlists page is where you create watchlists and maintain their members; the concepts behind thresholds and templates are explained in Watchlists and Accuracy and thresholds.
Watchlists
Create. Click CREATE WATCHLIST, type a name and confirm with CREATE WATCHLIST. You can register members straight away (see below) and set the MATCHING THRESHOLD before you CONFIRM.
Rename. Open the watchlist and click its name; it becomes an editable field. Press Enter or click elsewhere to save.
Colour. Open the watchlist and click the icon next to its name to pick a colour from the palette (green by default). The colour marks the watchlist in event cards and previews; it is the previewColor attribute of the watchlist in the REST API.
Matching threshold. Open the watchlist, click the MATCHING THRESHOLD value in the title bar, move the slider and CONFIRM. A detected face is a match only if its score against a member of this watchlist reaches the threshold. The platform default is 40; raising it reduces false matches at the price of missing some genuine ones, so tune it per use case rather than globally (see Tuning identification).

Delete. Hover over the watchlist tile and click DELETE, or open it and use the bin icon in the upper right corner. Deleting a watchlist deletes all of its members as well.
Restricted watchlists
Station can mark selected watchlists as restricted so that operators recognise a match against them at a glance. This is not set in the web application but in .env.station: put the watchlist IDs, comma-separated, into BLACKLIST_WATCHLIST_IDS and run docker compose up -d station. Watchlist IDs are shown in the URL when a watchlist is open, or returned by GET /api/v1/Watchlists of the REST API. Replace the placeholder value shipped in the file; it does not refer to a real watchlist.
Members
Open a watchlist to see its members in pages of 100. Use Search by member id or name in the right panel to find one.
Register members
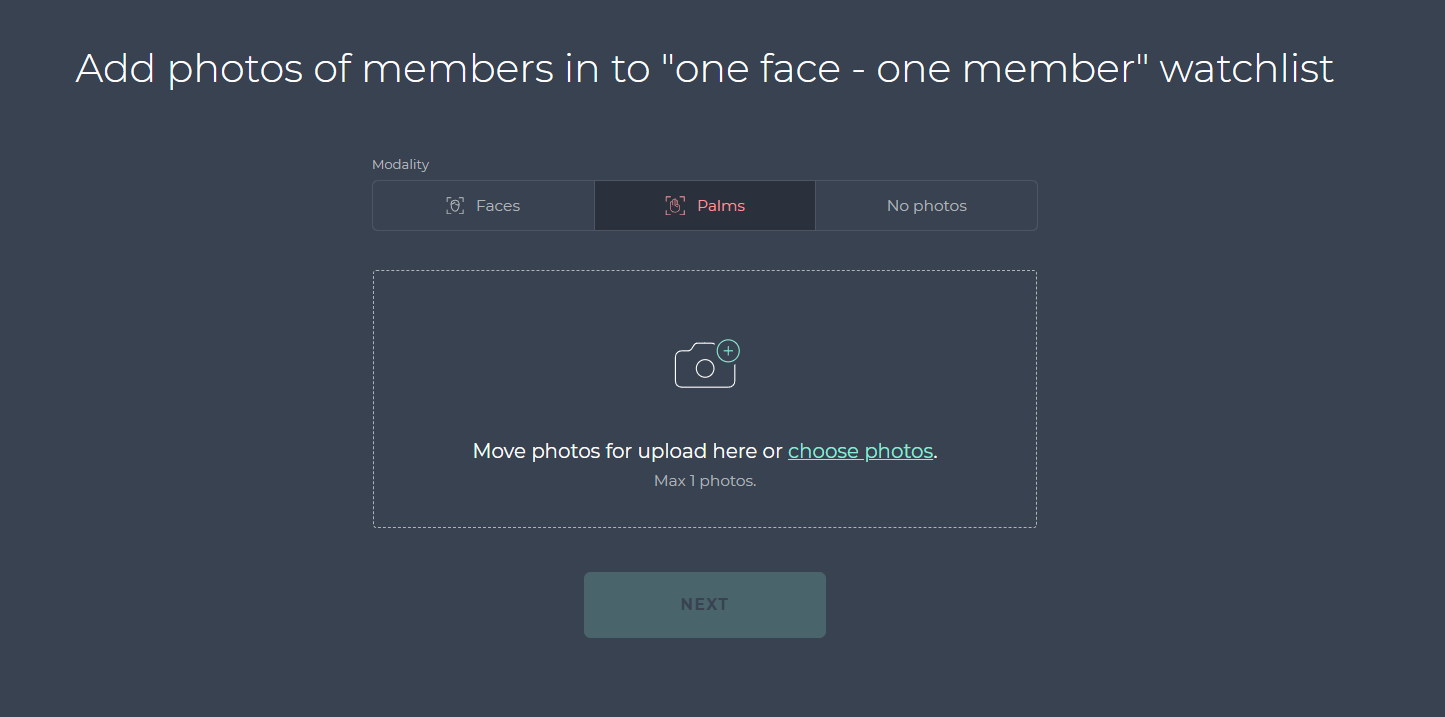
- Click + ADD MEMBERS.
- Choose Faces to register from photos, or No photos to create members without an image (enter how many; you can add photos later).
- For faces, drop up to 30 photos on the marked area, choose them from disk or take them with the device camera (needs HTTPS and
DOT_FACE_CAMERA_ENABLED=true). One photo becomes one member. Click NEXT. - Enter the NAME and optionally a NOTE for each member and click NEXT.
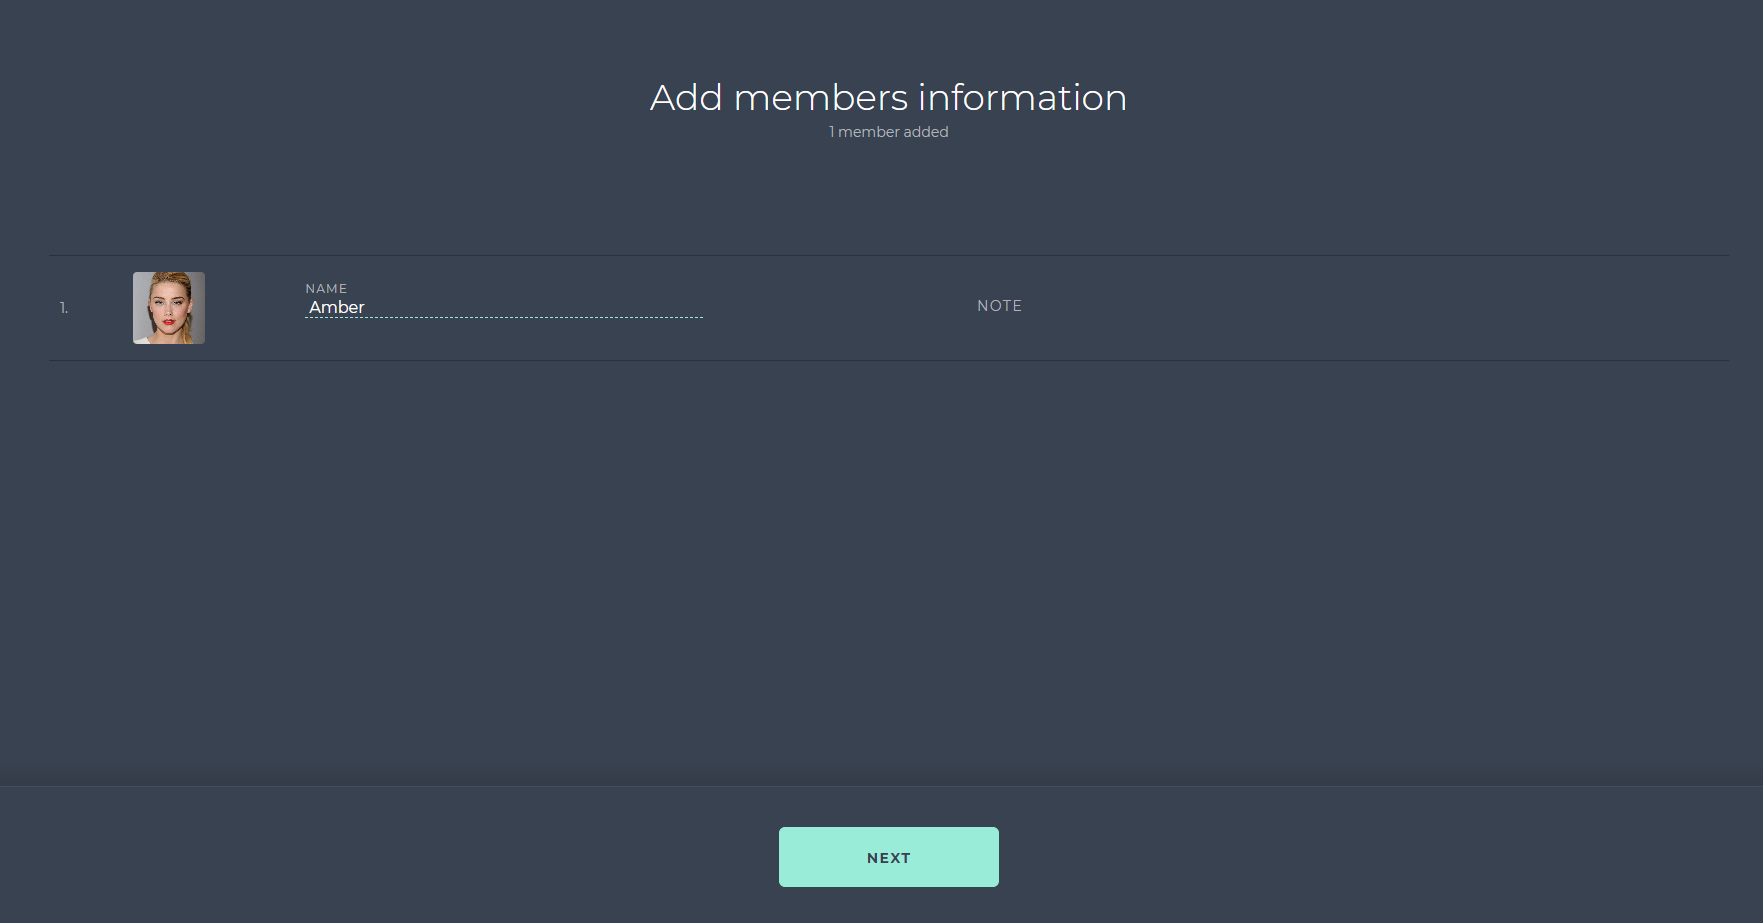
If no face is found in a photo, Station tells you which one failed; the usual causes are poor lighting, a strong head angle or a face that is too small. Enrolment images are validated against the platform's face validation rules; the enrolment image quality guide explains what a good image looks like. Members can also be registered from a no-match event on the live monitoring page, or in bulk from a folder (see Bulk enrollment).
Edit a member
Click the member to open the profile on the right. The NAME and NOTE are edited in place and saved when you press Enter or click elsewhere. Additional fields such as date of birth or document number appear here when member labels are configured in .env.station (see Configuration); their values are typed in the profile or set through the REST API.
Link to more watchlists. In the profile click Watchlist, tick or untick watchlists and click SAVE. A member belongs to at least one watchlist and can belong to several.
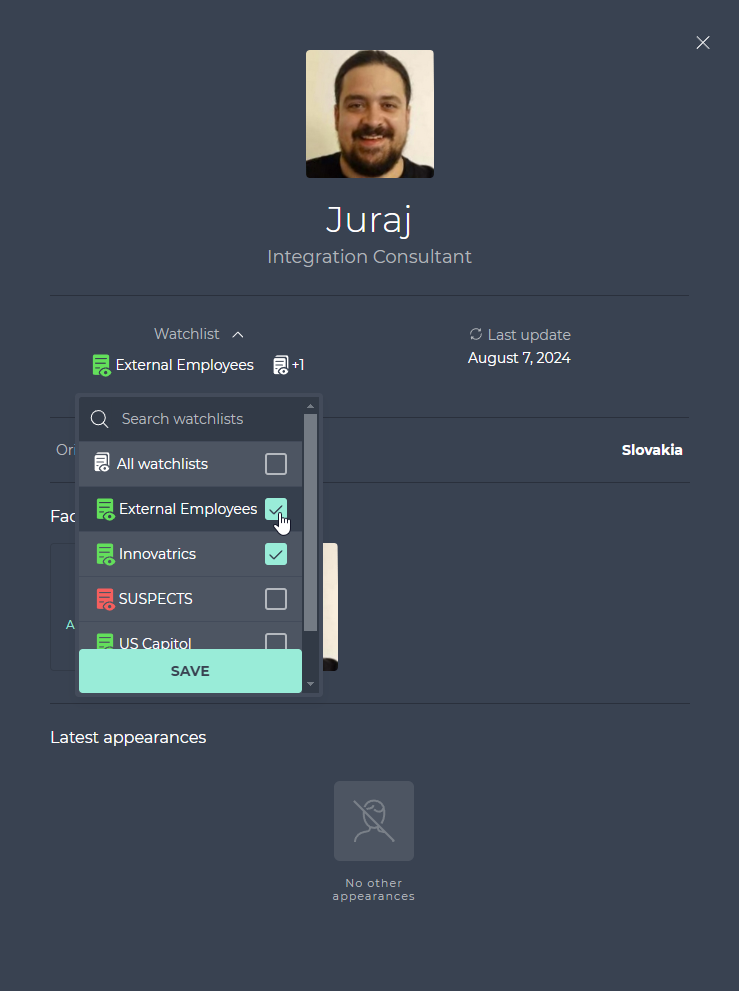
Image gallery
A member can have several face images, and more good images of the same person improve identification. Click + ADD PHOTOS in the profile to add one; hover over an image and click the bin icon to remove it, or select several and remove them together. Never add an image of a different person: it poisons the member's templates and breaks matching for everyone involved.
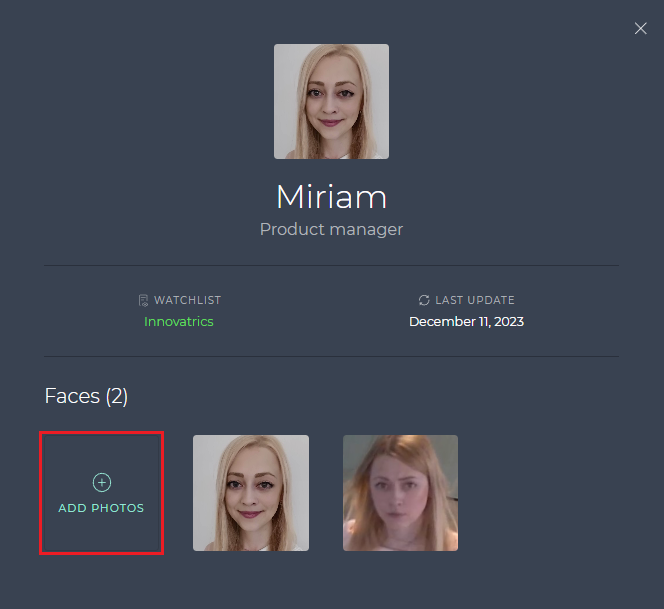
Images carry badges in their lower right corner. An A badge marks an image added automatically by watchlist autolearn; images without it were added by a user. A face mask badge marks an image that autolearn placed in the masked-face cluster of the member.
Delete members
Click the bin icon in the member's row, or tick the checkboxes of several members and click REMOVE.
Other member images
Station shows these controls only when its palm screens are switched on; they are off by default (see PALMS_ENABLED).
A member can also be registered from a palm image. In + ADD MEMBERS choose Palms instead of Faces and upload one palm photo; one registration creates one member, and the name and note steps are the same as for faces. Palm matches have their own MATCHING THRESHOLD per watchlist, set in the same dialog as the face threshold, with a default of 75. The member list shows an icon for each modality a member has, and the icons double as a quick filter in the right panel. Server-side palm settings are described in Palm processing.