Cameras
The Cameras page lists every video source the platform knows: RTSP cameras processed on the server and edge streams from smart cameras. This page covers the RTSP cameras; edge streams have their own page, Edge streams. For the choice between the two models see Cameras in the Face Matcher Server manual.
The list
The title shows the number of registered sources. Each row shows the thumbnail, the name (and client ID for edge streams), the type (CAMERA or EDGE), whether processing is Enabled or Disabled, and for edge streams the connection and licence status. The right panel offers a search box (name or client ID) and filters by Sources (cameras, edge streams) and Status (enabled, disabled). Active filters appear above the list and can be removed one by one or with CLEAR ALL FILTERS. Click a row to open the configuration panel.

Camera slots
Each RTSP camera is processed by its own container. The Face Matcher package ships five of them, cam-1 to cam-5, so you can register up to five RTSP cameras; a sixth registration fails until a slot is freed. Station reaches the preview stream of each slot through CAM_PREVIEW_HOST_SFCAM1=cam-1 to CAM_PREVIEW_HOST_SFCAM5=cam-5 in .env.station, and the previews are published on host ports 30001 to 30005. The read-only service name shown in the camera configuration tells you which slot a camera occupies. Adding slots means adding camera services to the Compose project, which is covered in Scaling.
Add a camera
- Click ADD CAMERA in the title bar.
- Enter the CAMERA NAME and the RTSP / VIDEO SOURCE, for example
rtsp://user:password@camera-host:554/stream. - Click ADD CAMERA.
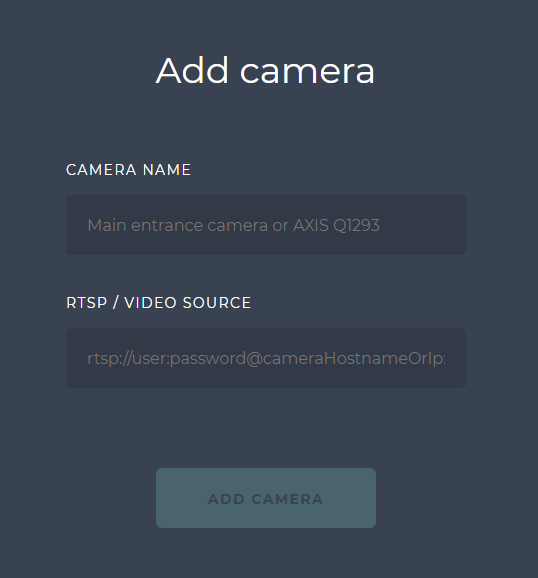
The new camera is created with face processing on and the other processing sections off; only the general, detection timing, face processing and camera preview sections can be set while creating. Credentials in the URL are stored with the camera, so create a dedicated camera account with view-only rights. Stream URL formats and privacy masking are covered in RTSP URLs and masking.
Enable or disable
Open the camera and use the Enabled toggle in the general section. An enabled camera is connected by its slot container and processed according to its configuration; events start appearing on the live monitoring page and in the history. A disabled camera keeps its configuration but consumes no resources, which also frees its slot for another camera. New cameras start enabled.
Configure
Open the camera and edit the fields; changes are applied to the running camera service. The panel is organised in sections:
| Section | What it controls | Default state |
|---|---|---|
| General | Name, slot, stream URL, the Enabled toggle, and the FILTER IN HISTORY and DELETE actions. | Always shown |
| Detection timing | How often frames are sent to detection and extraction. | Always shown |
| Face processing | Detector resource, confidence, face size limits, save strategy, detector algorithm, extractor resource. | On |
| Spoof detection | Distant and nearby liveness resources and thresholds. | Off |
| Pedestrian processing | Pedestrian detector, size limits, save strategy, attribute extraction. | Off |
| Object processing | Object detector, size limits, save strategy, object classes. | Off |
| Camera preview | Preview stream quality and the attributes drawn on bounding boxes. | On |
Each optional section is switched on with its toggle, which fills in the platform defaults. Every parameter, its options and its default is listed in the Camera settings reference; what the settings mean for accuracy and load is discussed in Detection and matching settings.
Delete
Open the camera, click DELETE in the general section and confirm with OK. Deleting a camera does not delete the events it produced; those follow the data retention settings.