RTSP URLs and Masking
Every server-side camera in Face Matcher is an RTSP stream that one cam-* container decodes and processes. This page shows how to build the stream URL for common camera brands and how to exclude part of the scene from detection with a privacy mask, either on the camera or in Face Matcher. How server-side processing works is described in Server-side RTSP processing; registering a camera in the web UI is described in Cameras.
RTSP URL format
Each camera brand, and often each model, uses its own stream endpoint; the vendor manual or web interface is the authority. The general shape is:
rtsp://<username>:<password>@<camera-ip>:554/<stream-endpoint>
| Part | Meaning |
|---|---|
rtsp:// | The protocol. Some cameras also offer rtsps:// for an encrypted stream. |
<username>:<password> | Camera login. Defaults such as admin or root are in the camera manual; change the password during installation. |
<camera-ip> | Address of the camera. The Face Matcher host must reach it over the network, so check firewalls in both directions. |
554 | Default RTSP port; omit it if the camera uses the default. |
<stream-endpoint> | Vendor-specific path, sometimes encoding the codec or stream profile. One camera can expose several streams, each with its own endpoint. |
Examples for common vendors (verify against your model):
| Vendor | Example URL |
|---|---|
| Axis | rtsp://<username>:<password>@<camera-ip>:554/axis-media/media.amp |
| Polis | rtsp://<username>:<password>@<camera-ip>:554/onvif/H.264/media.smp |
| DynaColor | rtsp://<username>:<password>@<camera-ip>/stream1 |
| i-PRO | rtsp://<username>:<password>@<camera-ip>/MediaInput/h265 |
Enter the URL as the camera's source when registering it in Station, or set the source property through the REST API (POST /api/v1/Cameras, PUT /api/v1/Cameras) on http://localhost:8098, see REST API. Pick a stream profile that keeps Full HD at 15 fps or more; see Camera Selection and Placement.
A local USB camera on the Linux host can be used for testing by passing the device into the camera container (devices: ["/dev/video0:/dev/video0"] on the cam-* service in docker-compose.override.yml) and using a GStreamer pipeline as the source, for example v4l2src device=/dev/video0 ! video/x-raw, format=YUY2, width=1280, height=720, framerate=10/1 ! videoconvert ! appsink. This is a lab convenience, not a deployment option.
Masking on the camera
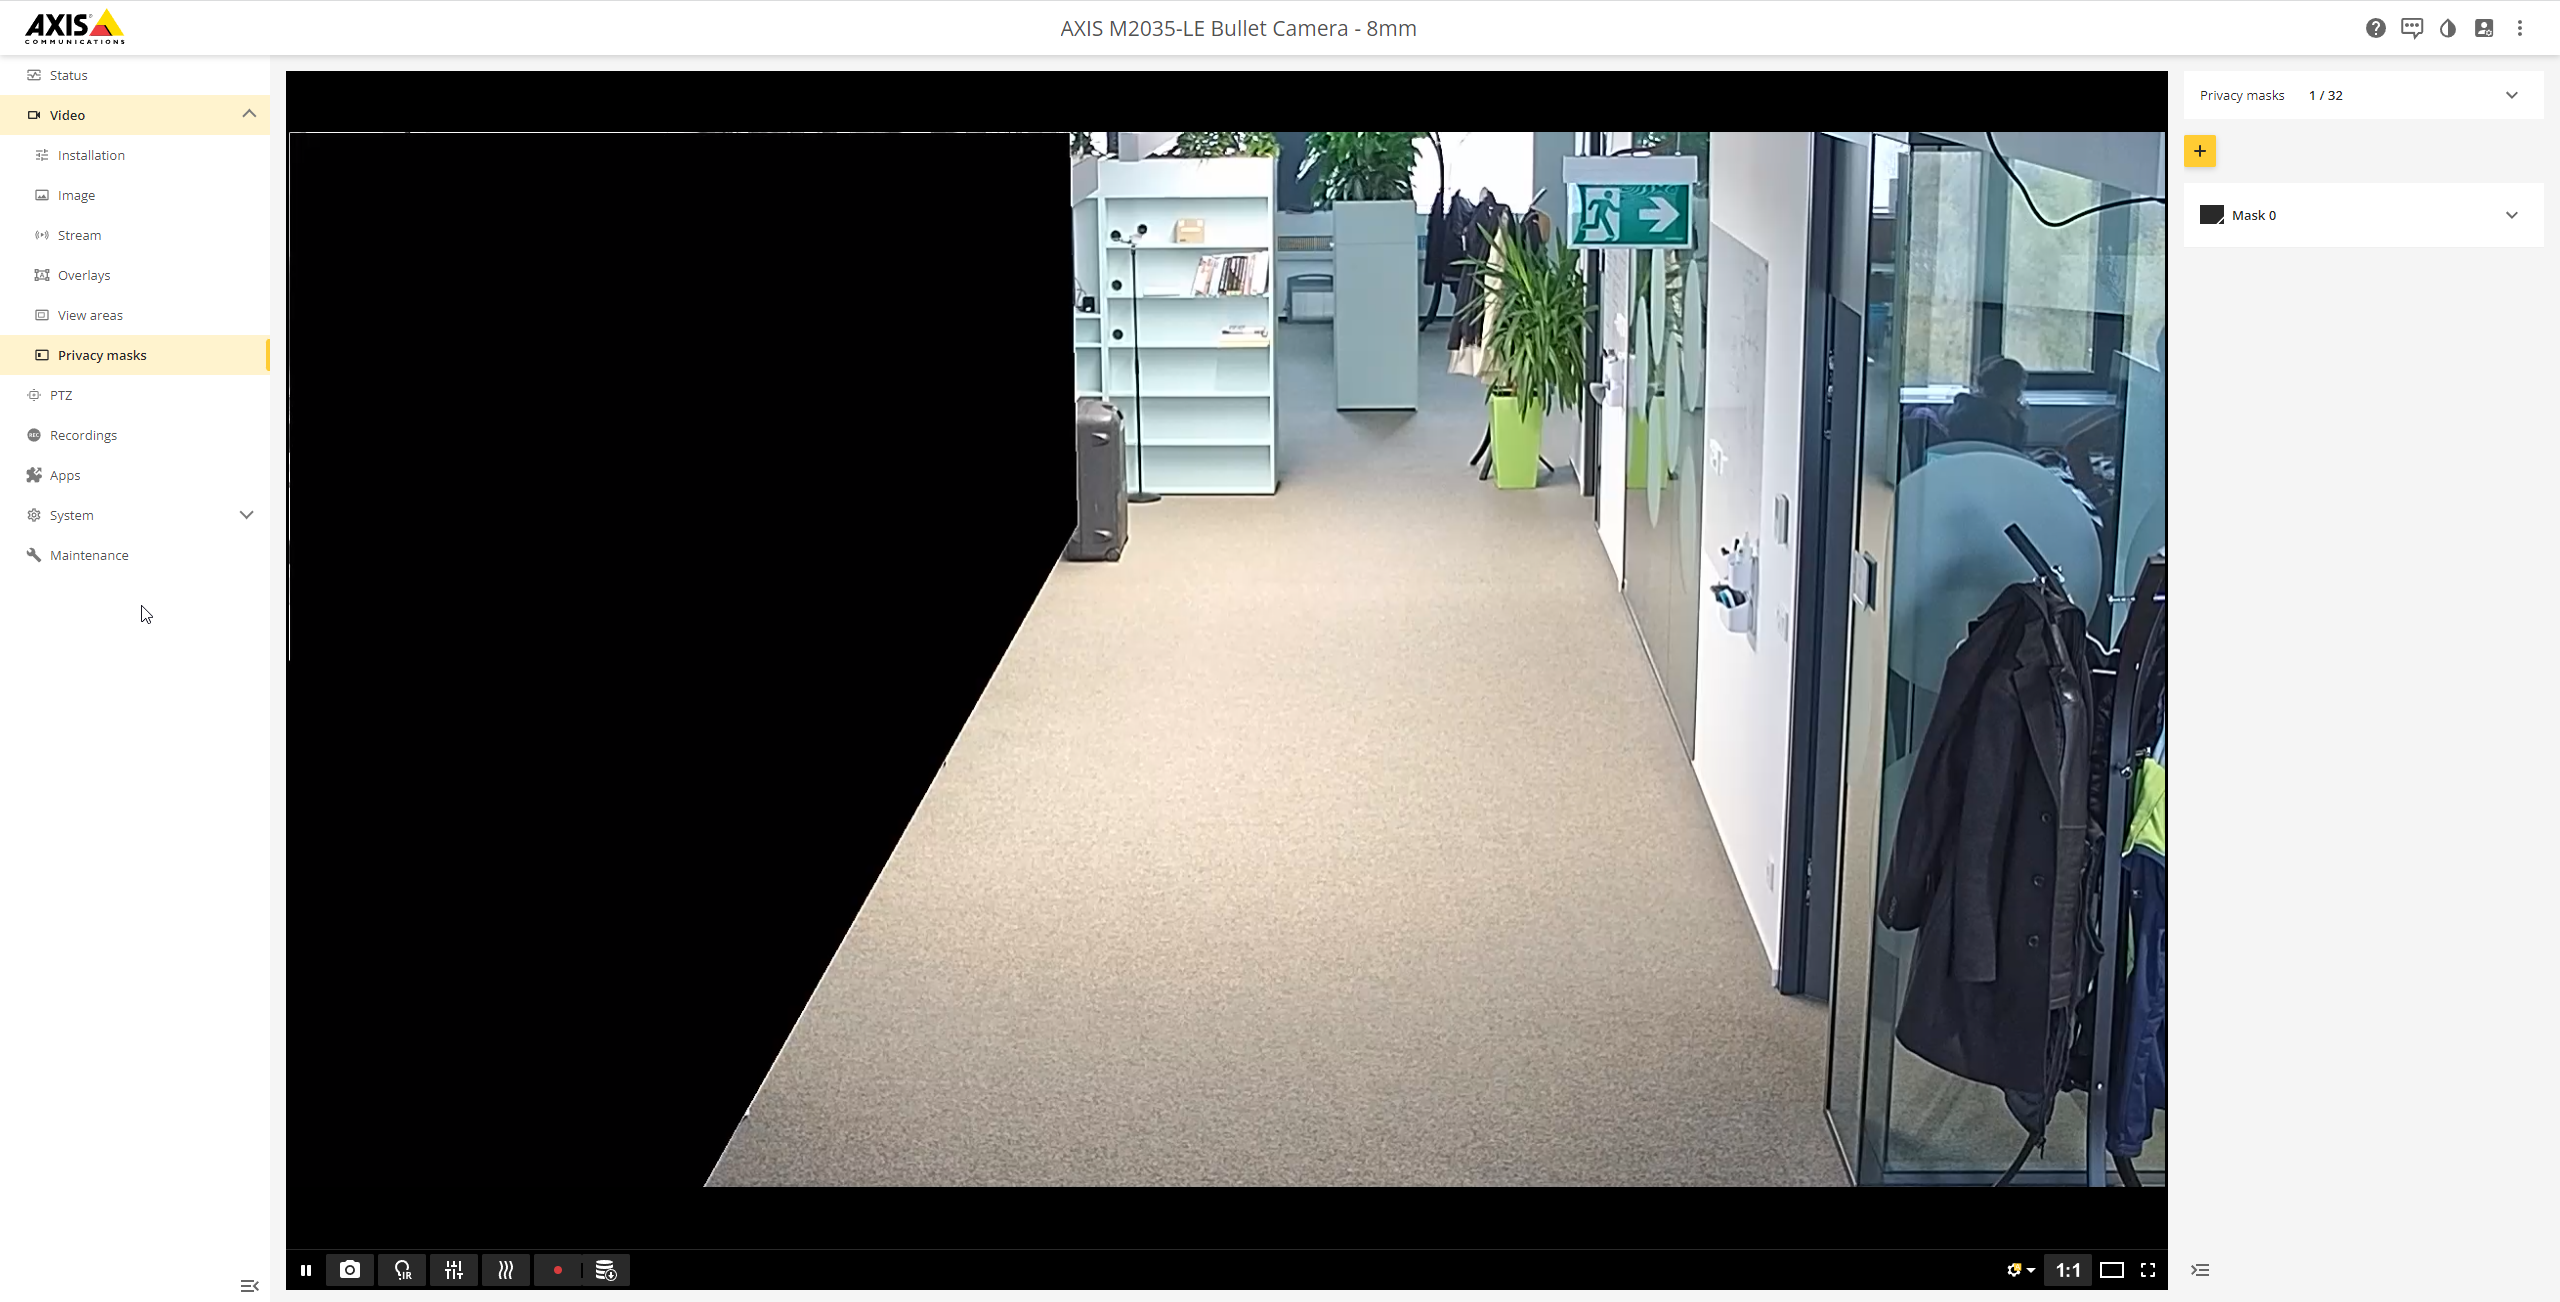
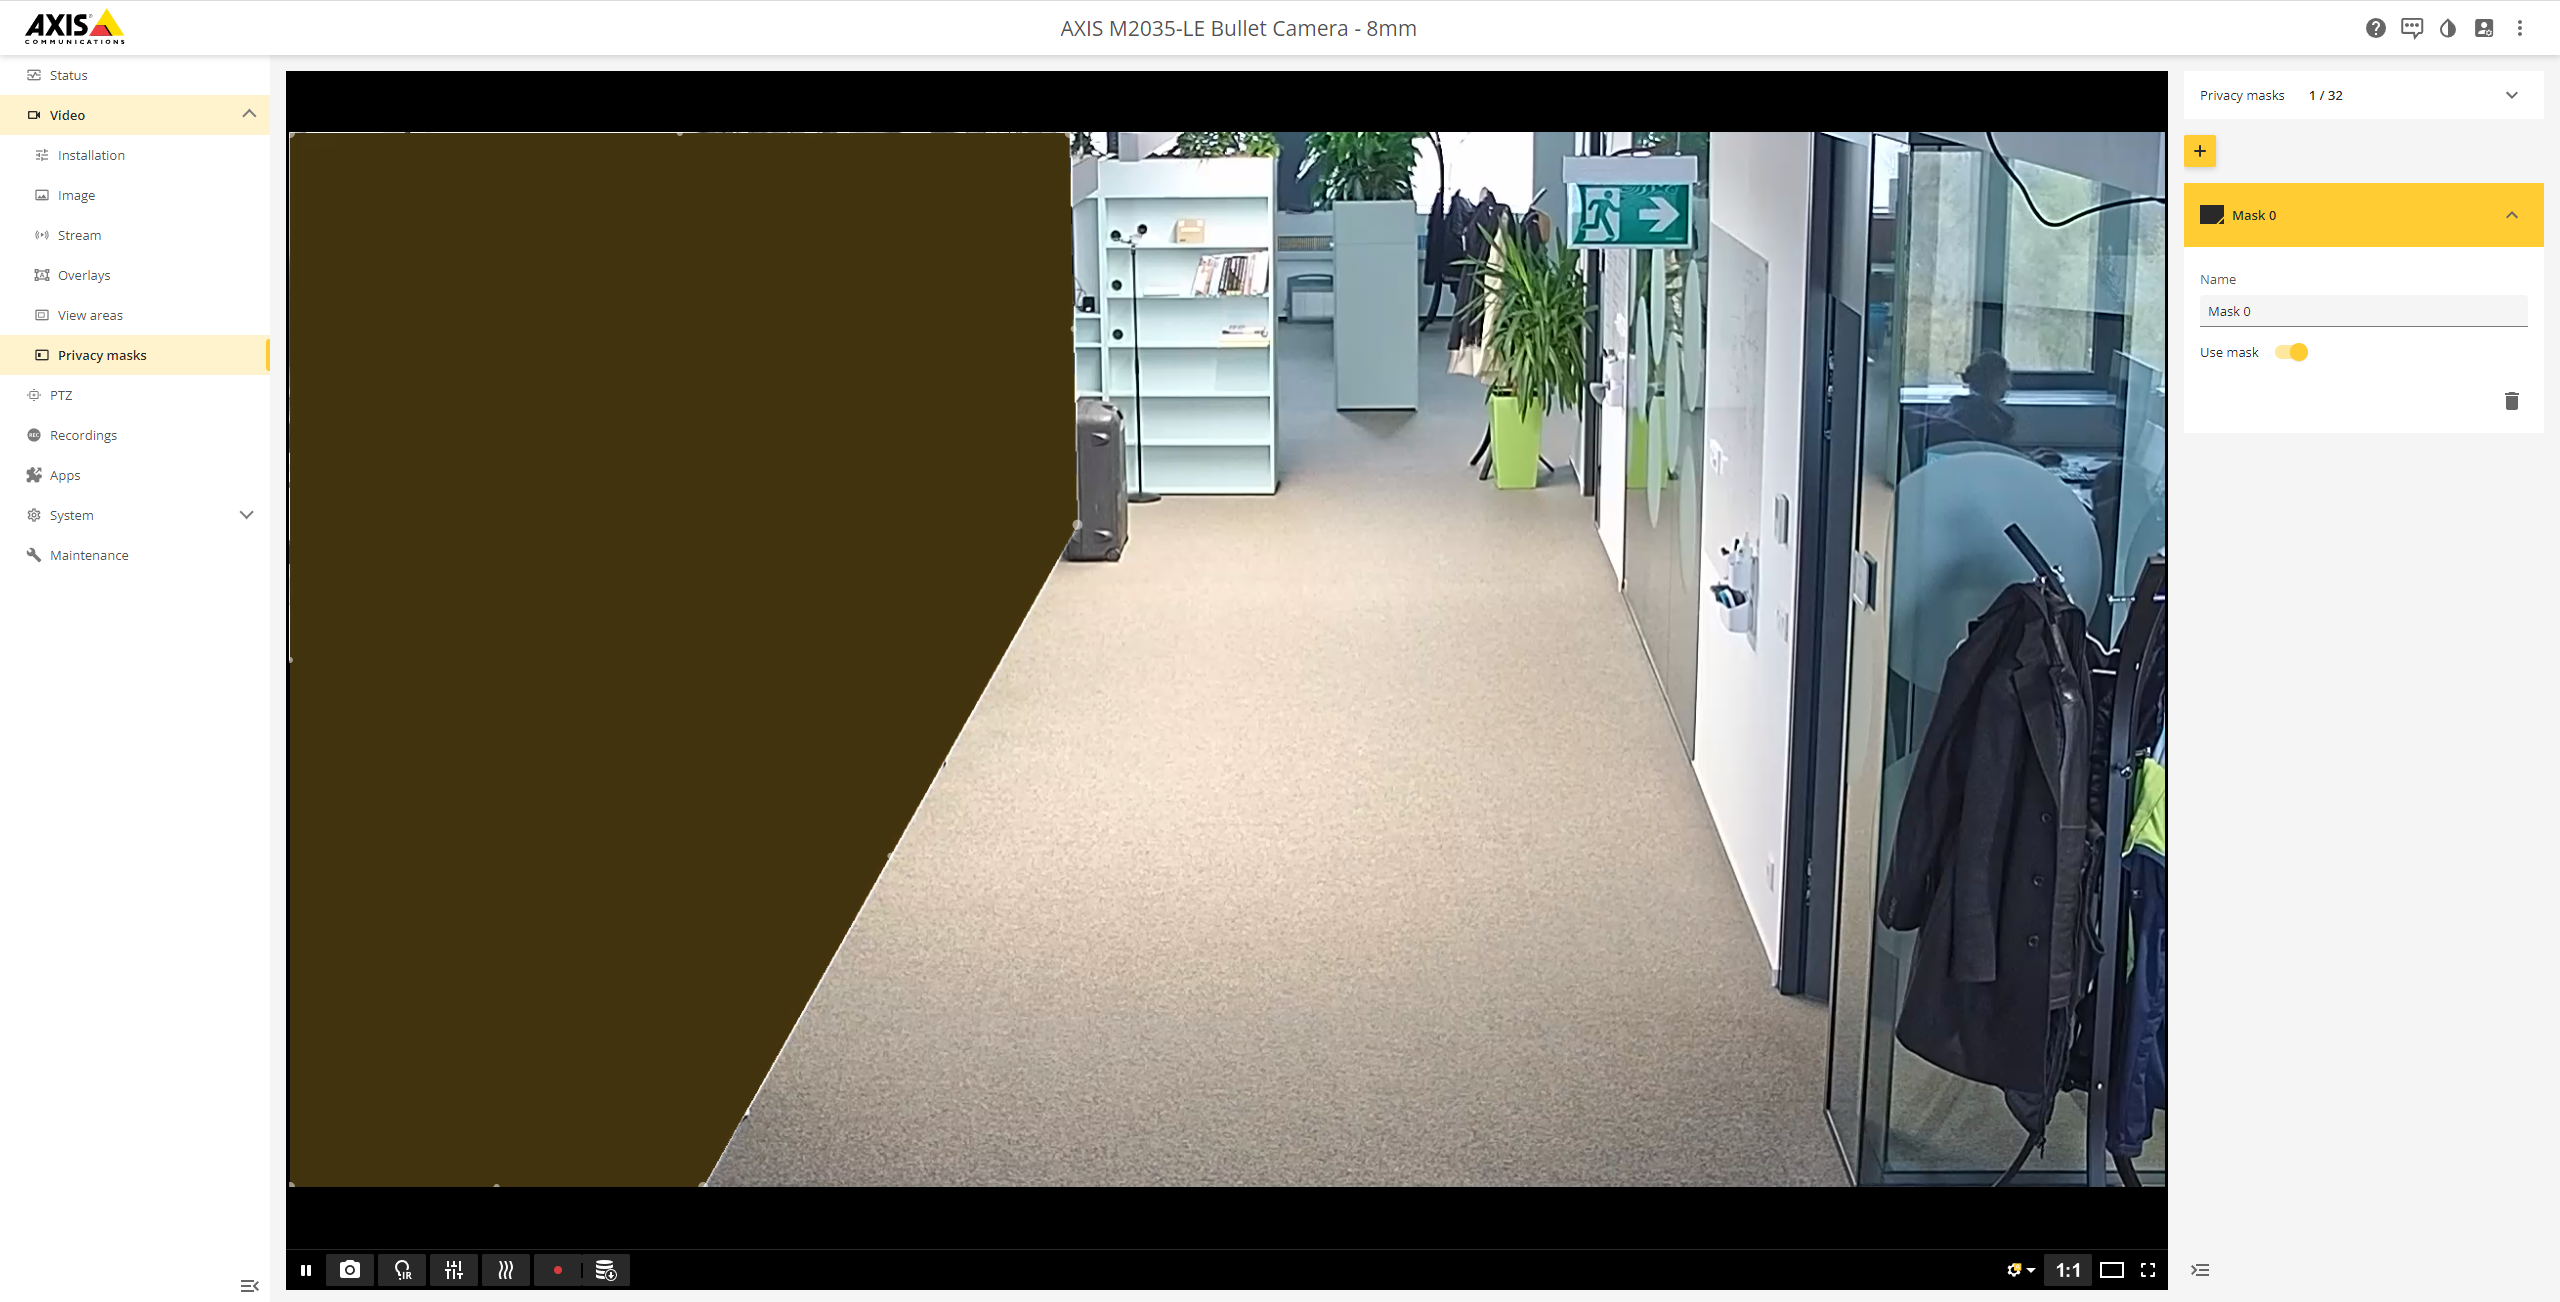
If the camera's view includes an area you must not observe (a neighbouring desk, a public street, a screen), the simplest fix is a privacy mask configured in the camera's own administration interface. Most IP cameras let you add, enable, disable and remove masks; the masked region is blacked out in the stream itself, so nothing behind it ever reaches Face Matcher and the black area also shows in the Station camera preview.
Masking in Face Matcher
When the camera has no mask feature, Face Matcher can apply one during processing. Each camera has a maskImagePath property (null by default) that points to a black-and-white PNG inside the camera container: white pixels are processed, black pixels are ignored for face, pedestrian and object detection. The mask must have exactly the same dimensions as the camera resolution. Unlike a camera-side mask, it is not visible in the Station preview; the region is simply never detected on.

-
Save the mask as
masking.pngnext todocker-compose.yml. -
Mount it into the
cam-*service that runs the camera (the camera's service name,SFCam1forcam-1and so on, is shown in its settings). Add the bind to that service indocker-compose.override.ymlso the release files stay untouched:services:cam-3:volumes:- ./masking.png:/app/masking.png:ro -
Apply with
docker compose up -d. -
Point the camera at the file with
PUT /api/v1/Cameras, sending the full camera object with"maskImagePath": "/app/masking.png".
Use one file per camera if several cameras need different masks, and re-create the mask whenever you change the camera's resolution.