Camera Selection and Placement
Camera choice and physical placement decide recognition quality before any software setting does. This guide covers what to look for in a camera, how to keep faces large, sharp and well lit, and how to mount and power the device. It applies to IP cameras processed server-side over RTSP and to smart cameras running the Embedded Stream Processor alike; the two processing models are compared in Cameras and a short vendor checklist is in Choosing a camera. Stream URLs and privacy masks are covered in RTSP URLs and Masking.
Camera parameters
One project often needs more than one camera type. Use the table as a checklist when comparing models.
| Parameter | Recommendation |
|---|---|
| Indoor vs. outdoor | Use cameras rated for the environment; outdoor units need weatherproofing and shielding against direct sunlight. |
| Form factor | Dome cameras are discreet and vandal-resistant; bullet cameras are more visible and suited to longer range. |
| Fixed vs. PTZ | Pan-tilt-zoom eases installation and lets you fine-tune the view; optical zoom helps cover distant areas. |
| Resolution | Full HD (1920 x 1080) is the sweet spot; at least 720 px wide. Higher resolutions rarely improve recognition and cost processing time. |
| Low-light performance | Prefer good low-light sensors or add lighting. Wide Dynamic Range (WDR) helps with mixed-contrast scenes but its artefacts lower passive liveness scores, so keep it off where liveness matters. |
| Frame rate | 15 fps or more at all times, including in the darkest expected conditions. Face Matcher does not process every frame, so more is not needed. |
| Field of view | Narrow enough to keep faces large and undistorted at the recognition point; see below. |
| Power | Wired cameras only; prefer Power over Ethernet (PoE). |
| Connectivity | RTSP streaming, or an on-device Embedded Stream Processor for edge streams. |
| Brand and support | Reputable vendors with warranty and after-sales support; low-end cameras add latency and fail first in low light. |
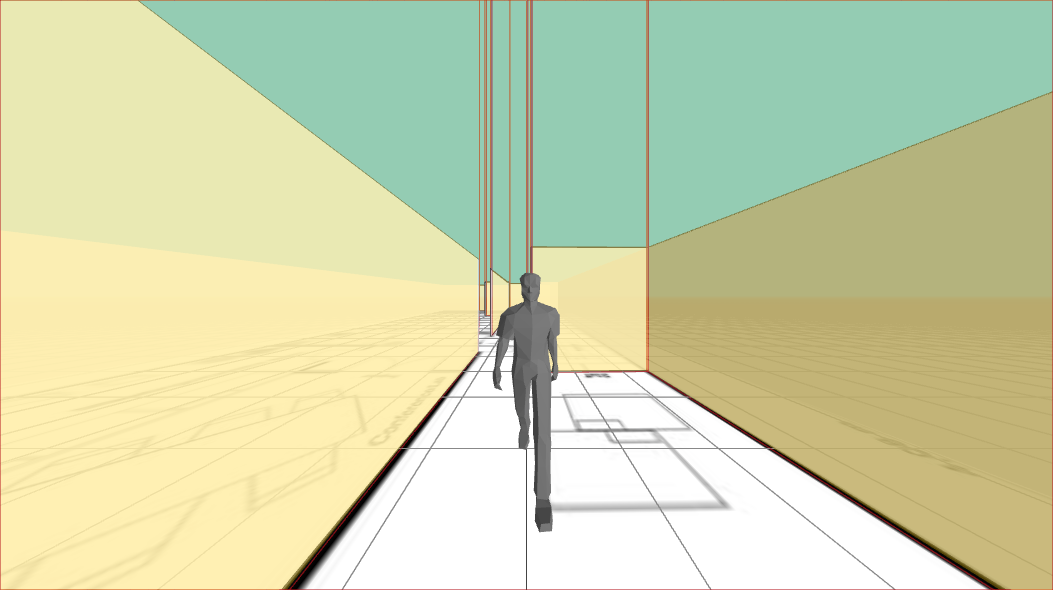
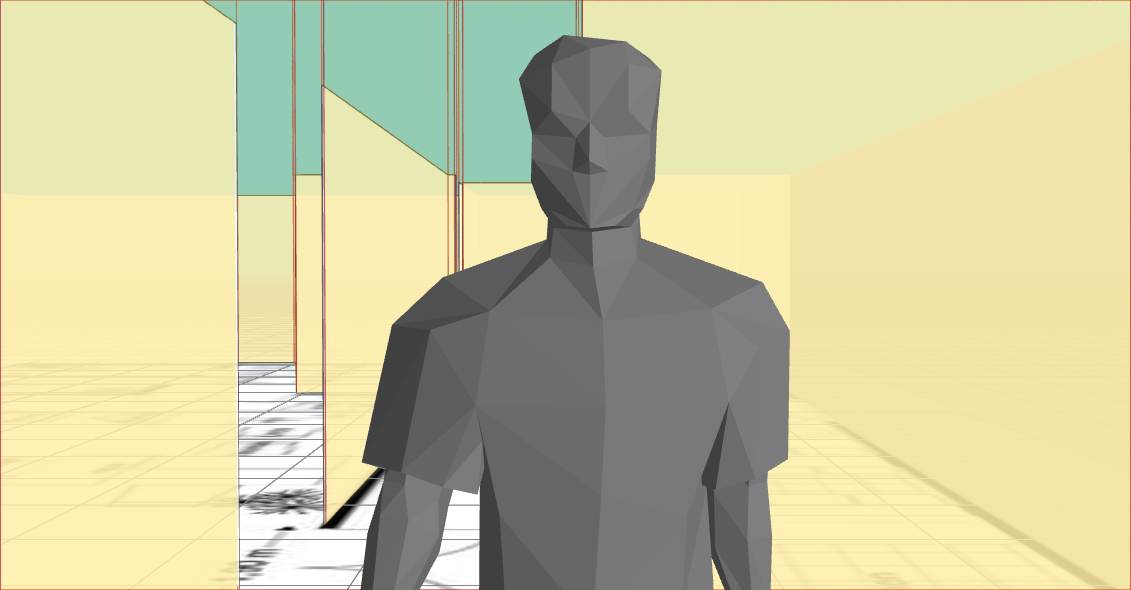
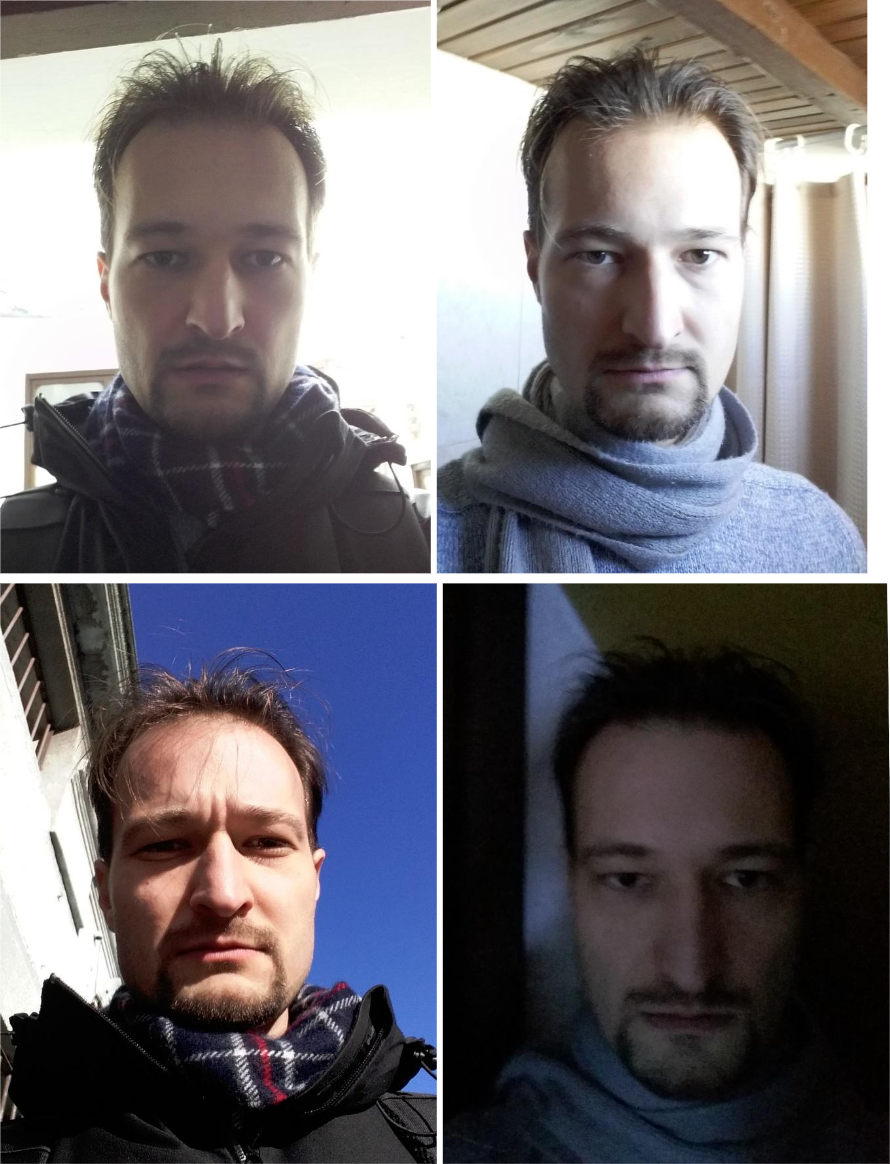
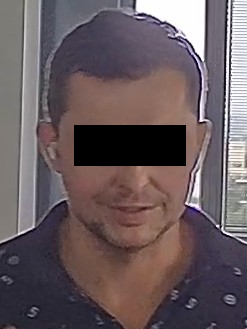
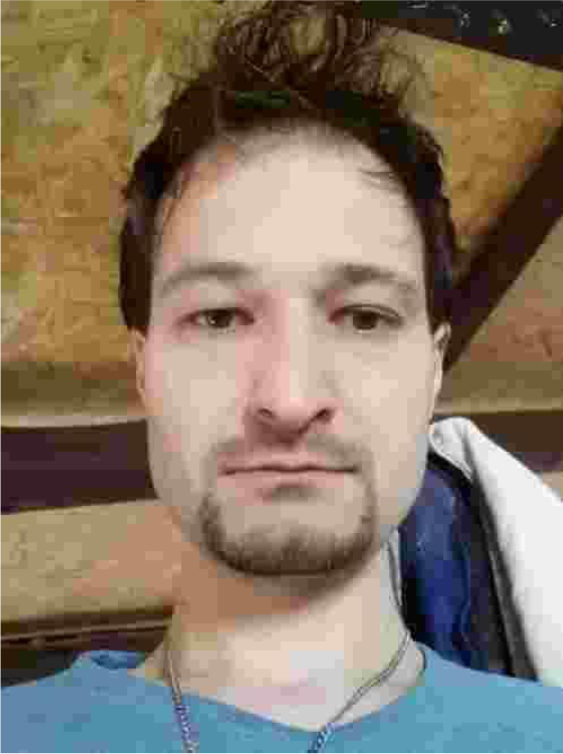
A wide lens makes face size fall off quickly with distance, so a person only a short distance away may already be too small to match. The two images below show the same person two metres from the camera with two different lenses.
Face size, lens and focus
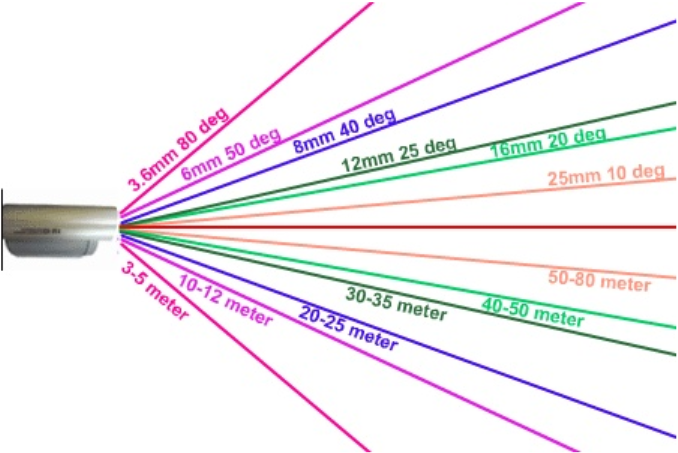
Aim for at least 50 pixels between the eyes at the point where identification should happen. Faces down to 30 px still work but template quality degrades; below 30 px is not recommended. Reach the target by combining sensible resolution, the right lens and a mounting distance matched to the use case. For near-distance scenes use a fixed-focal lens no shorter than 2.8 mm to avoid perspective distortion; for far distances use an optical zoom (on a 720 px wide image a face should be at least one eighth of the frame width). Prefer fixed focus over autofocus: autofocus reacts to lighting changes and can leave the subject blurred, and long zoom lenses have a shallow depth of field.
Lighting
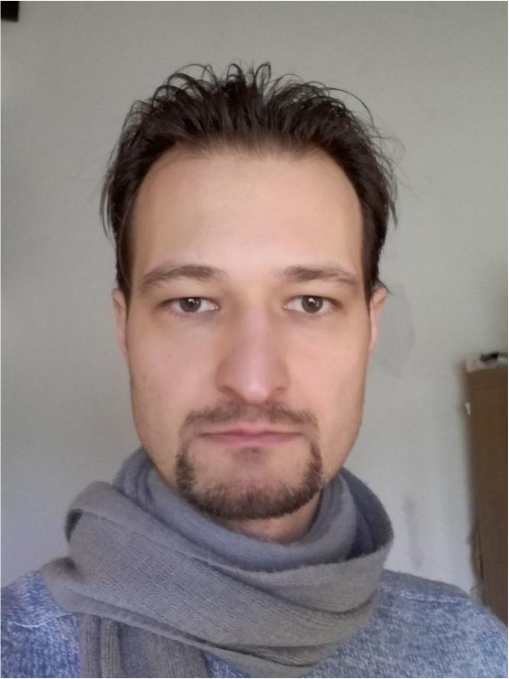
Lighting is the most common cause of poor results and the hardest variable to control; placement usually fixes what settings cannot. Keep every light source and reflective surface out of the field of view. Natural light from windows and doors changes through the day and the year, so it is rarely enough on its own; artificial lights can often be moved, shaded or switched off. Survey the site at different times of day before fixing anything to a wall.
| Condition | Effect and remedy |
|---|---|
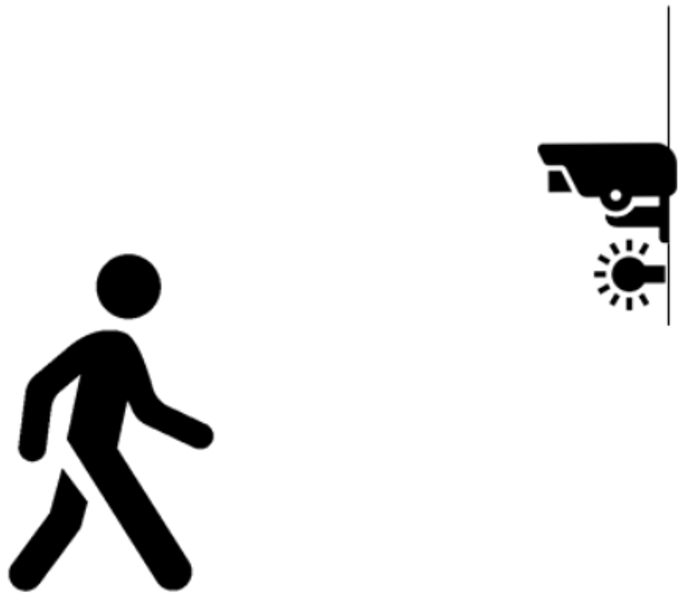
| Backlight | Faces turn into silhouettes. Never point the camera at a light source; if unavoidable, choose a camera with backlight compensation. |
| Low light | Exposure time rises and motion blurs; keep exposure at 1/50 s or shorter. Raising ISO adds noise instead. Add a neutral white or infrared light source next to the camera (infrared needs an IR-corrected lens and a sensor sensitive above 700 nm). |
| Overexposure | The camera meters the wrong part of the scene. Zoom in so the face dominates the frame, or remove the spotlight. |
| Changing light | Natural and switchable lights shift the scene; a finely tuned camera stops working. Aim for constant illumination. |
| Warm-coloured light | Lowers contrast on skin and removes facial detail. Use neutral white light. |
| Side, top or no light | Creates dark patches on the face. Provide frontal, diffuse light. |
Face orientation and mounting height
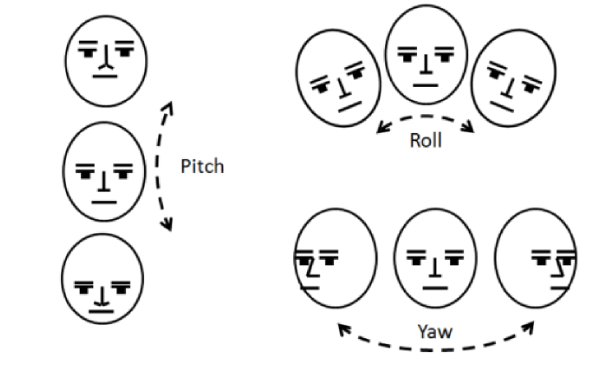
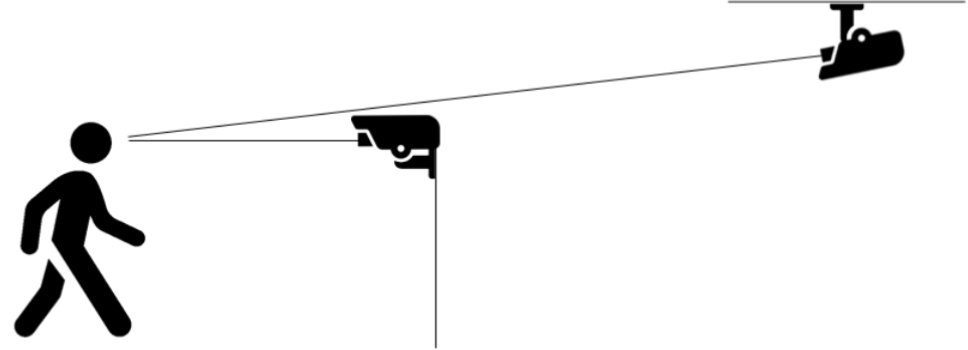
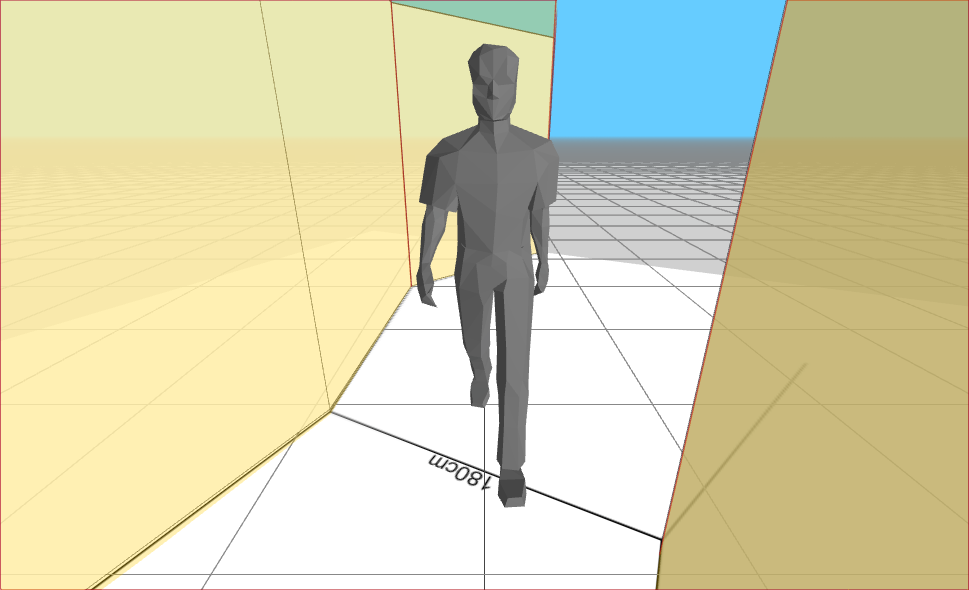
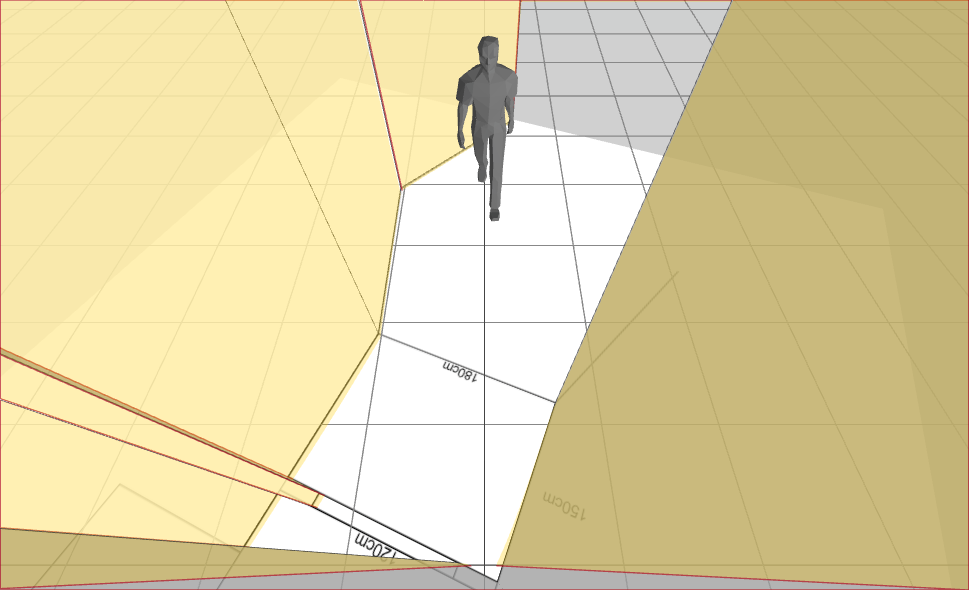
The camera can only use what it sees, and a full frontal face gives the best match. Entrances and narrow corridors are the natural chokepoints; open spaces need complementary cameras. For live recognition keep head angles within roll ±15°, pitch ±30°, yaw ±30°; larger angles still work but lower the match quality. Enrollment images are held to a stricter standard (±15° recommended, ±20° enforced by default), see Enrollment Image Quality. Mount at eye level facing oncoming people. A ceiling mount must look further along the path to keep the angle acceptable and then needs enough zoom to keep faces above 50 px.
Mounting a camera
Mounting is a trade-off between target visibility, distance, lighting, the safety of passers-by and the safety of the camera itself. Decide who must be seen (adults only, or children too), from how far and at what angle. Access-control scenes need a confident frontal view before the person reaches the barrier, ideally with liveness enabled; security monitoring can tolerate an angled view and looser thresholds because a possible match is enough. Use optical zoom only, respect network cable length limits, use shielded cable away from strong magnetic fields, and place the camera where nobody walks into it and vandals cannot reach it (height, a strong housing, or protective glass).
Video transmission
Capture quality is only half the story; the stream must reach the server intact. Keep 15 fps or more at all times, use constant bitrate (CBR) with quality priority rather than frame-rate priority, and budget about 4 Mbps of stable bandwidth per RTSP camera (2.5 Mbps at the low end). Size the network for the sum of all cameras so the frame rate never drops. Where bandwidth is scarce, edge streams send only face data and crops and need a fraction of the bandwidth.
PoE and PoE injectors
Power over Ethernet carries data and power on one cable, so a PoE switch or a PoE injector (network in, mains in, camera out) is all the camera needs. Check the wattage each camera draws against what the switch or injector can deliver per port and in total; underpowered or low-quality PoE devices cause intermittent faults that are hard to trace. Long cable runs lose power, so use quality cable within the manufacturer's length limits.
Validate before you fix anything to a wall
Do a temporary rig test: mount the shortlisted camera at the intended height and angle, capture real walk-throughs, and check face size, angles and match scores in the Station event history. An afternoon of validation routinely saves weeks of re-mounting and re-cabling.