First identification
With the services running, three short steps in Station give you a real result: register yourself in a watchlist, add a camera, and walk in front of it. Everything here is done in Station at http://localhost:8000; each step links to the Station page that covers the full set of options.
1. Register yourself in a watchlist
-
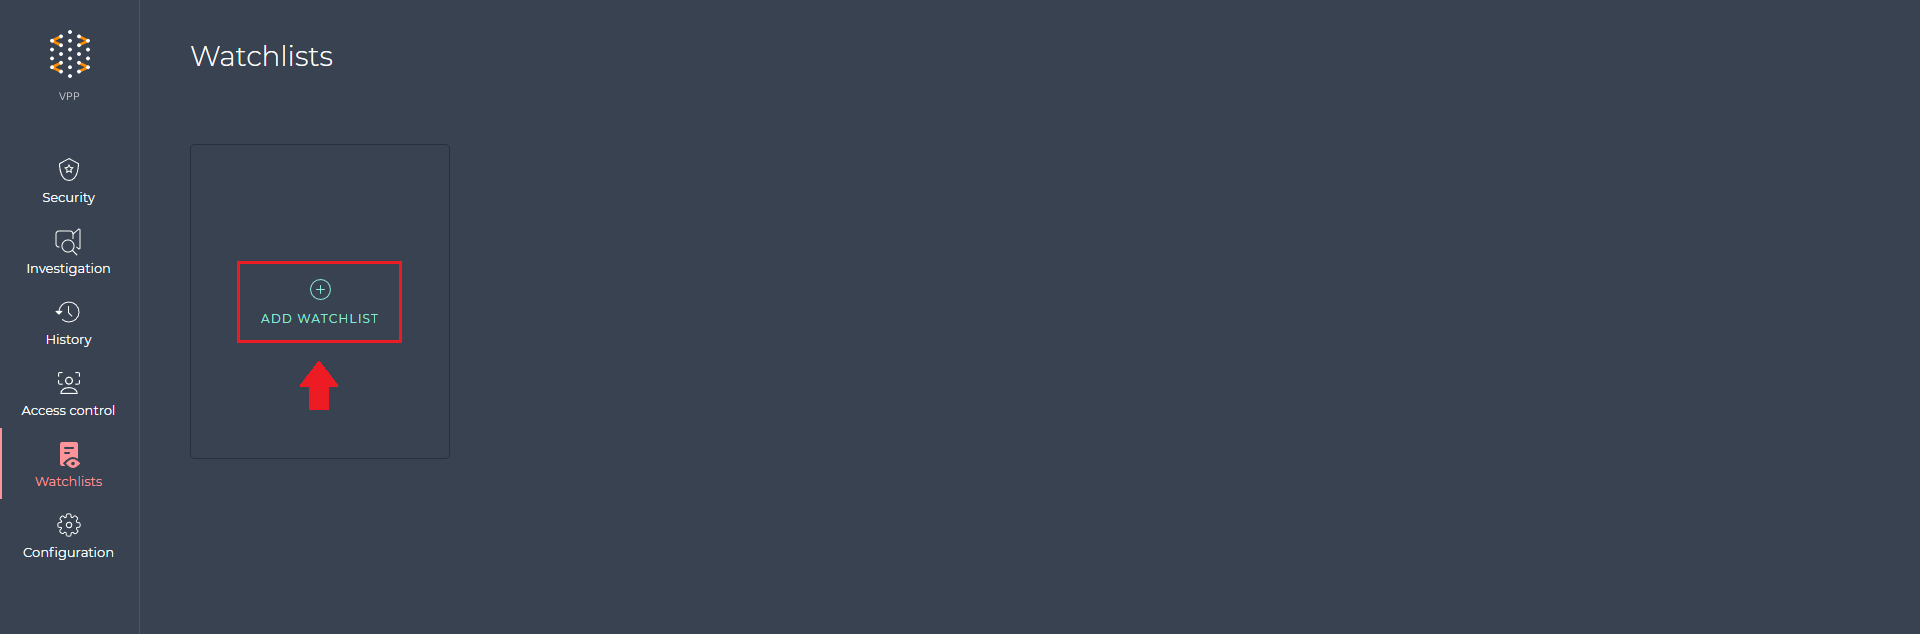
Open Watchlists in the left menu and click Add watchlist.
-
Name the watchlist and confirm with Create watchlist.
-
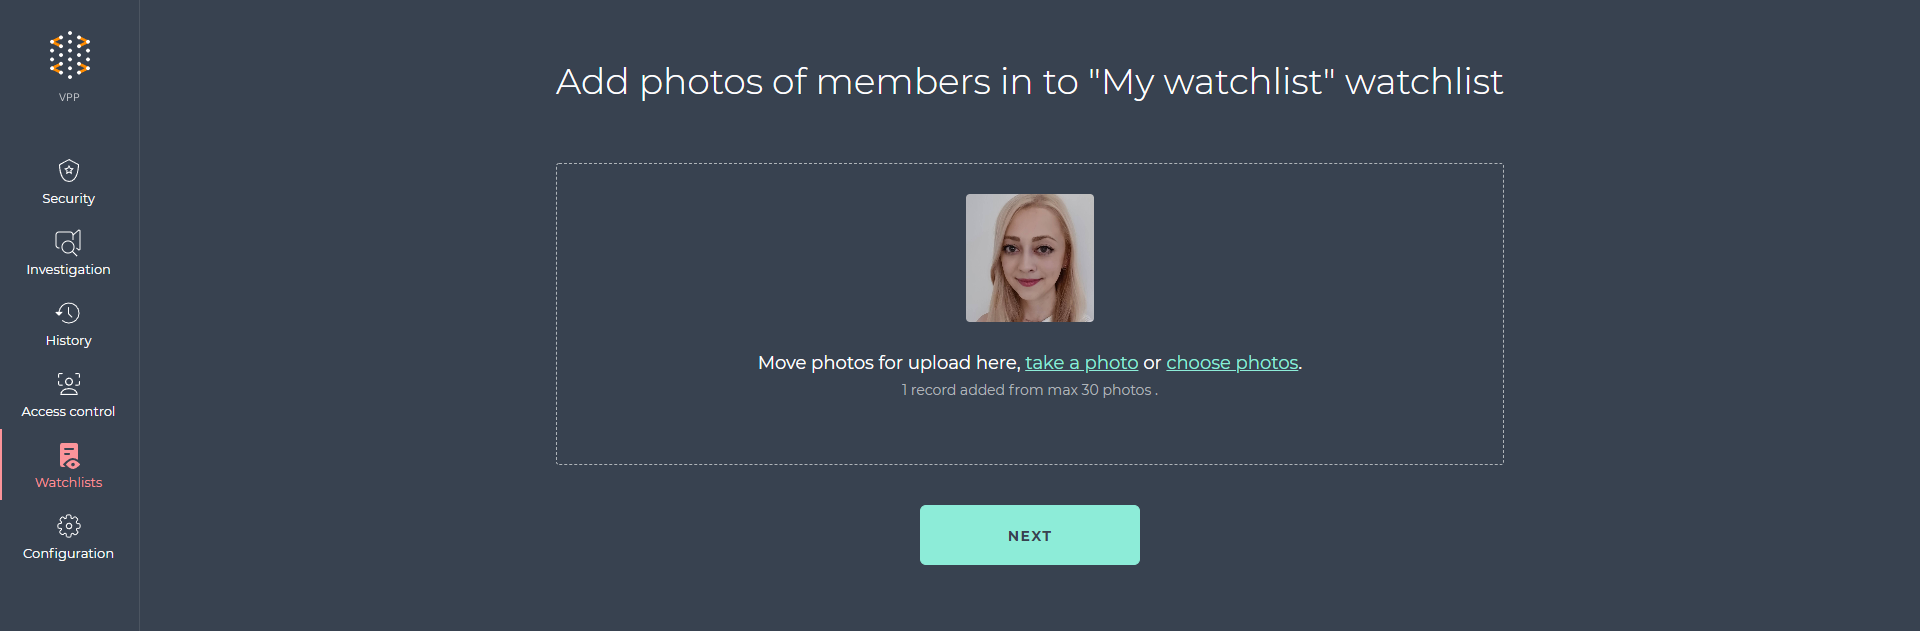
Add a photo of yourself: drop it on the upload area, choose a file, or take one with the computer's webcam. Then click Next.
-
Enter the Full name and, optionally, a note. Click Next.
-
Set the watchlist Threshold and confirm. The default is a permissive value suitable for a first test; see Accuracy and thresholds before you tune it.

A good enrollment photo is frontal, sharp and evenly lit; Face Matcher rejects faces smaller than 30 px or turned more than 20 degrees by default. Details are in Manage watchlists.
2. Add an RTSP camera
-
Open Cameras and click Add camera.
-
Enter a Name and the RTSP / video source URL of your IP camera, for example
rtsp://user:password@192.168.1.20/stream1, then click Add camera.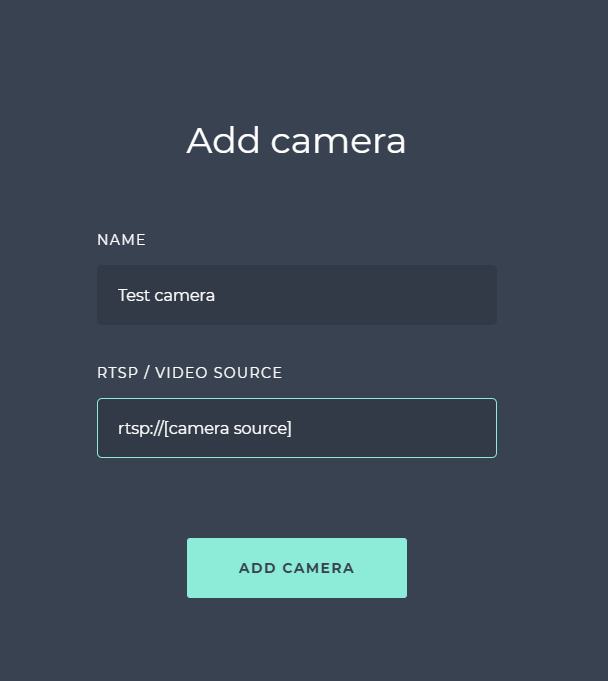
-
Click the new camera in the list to open its configuration and switch Enabled on.
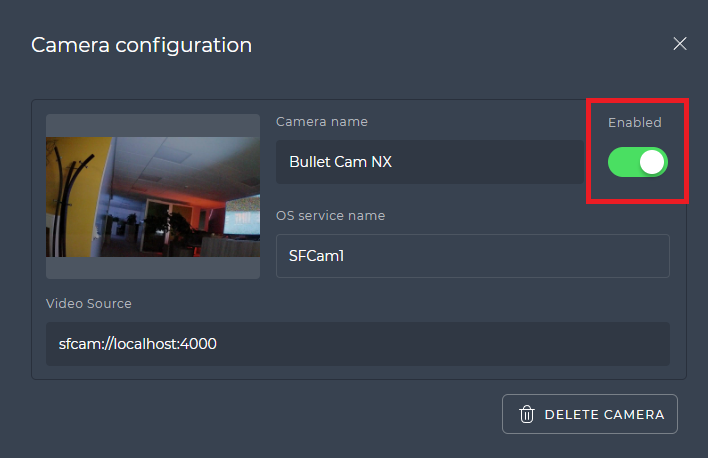
The camera is assigned to one of the five camera services and starts processing within a few seconds. RTSP URL formats, masking and the per-camera settings are covered in Cameras and RTSP URLs and masking.
3. Optionally, add an edge stream
If you have a smart camera running the Embedded Stream Processor, open Cameras and click Add edge stream instead. Enter a Camera name and the Client ID; it must equal the MQTT client ID configured on the device. Click Add edge stream, open it in the list and switch Enabled on.
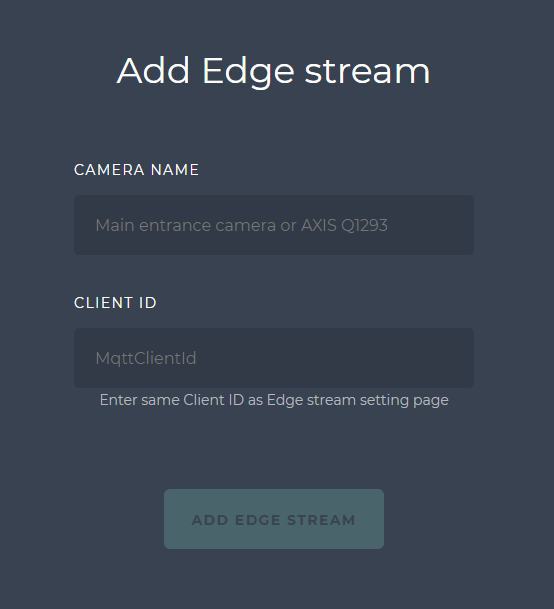
Connecting the device itself is described in Connect to Face Matcher and the Station side in Edge streams.
4. Get the first identification
-
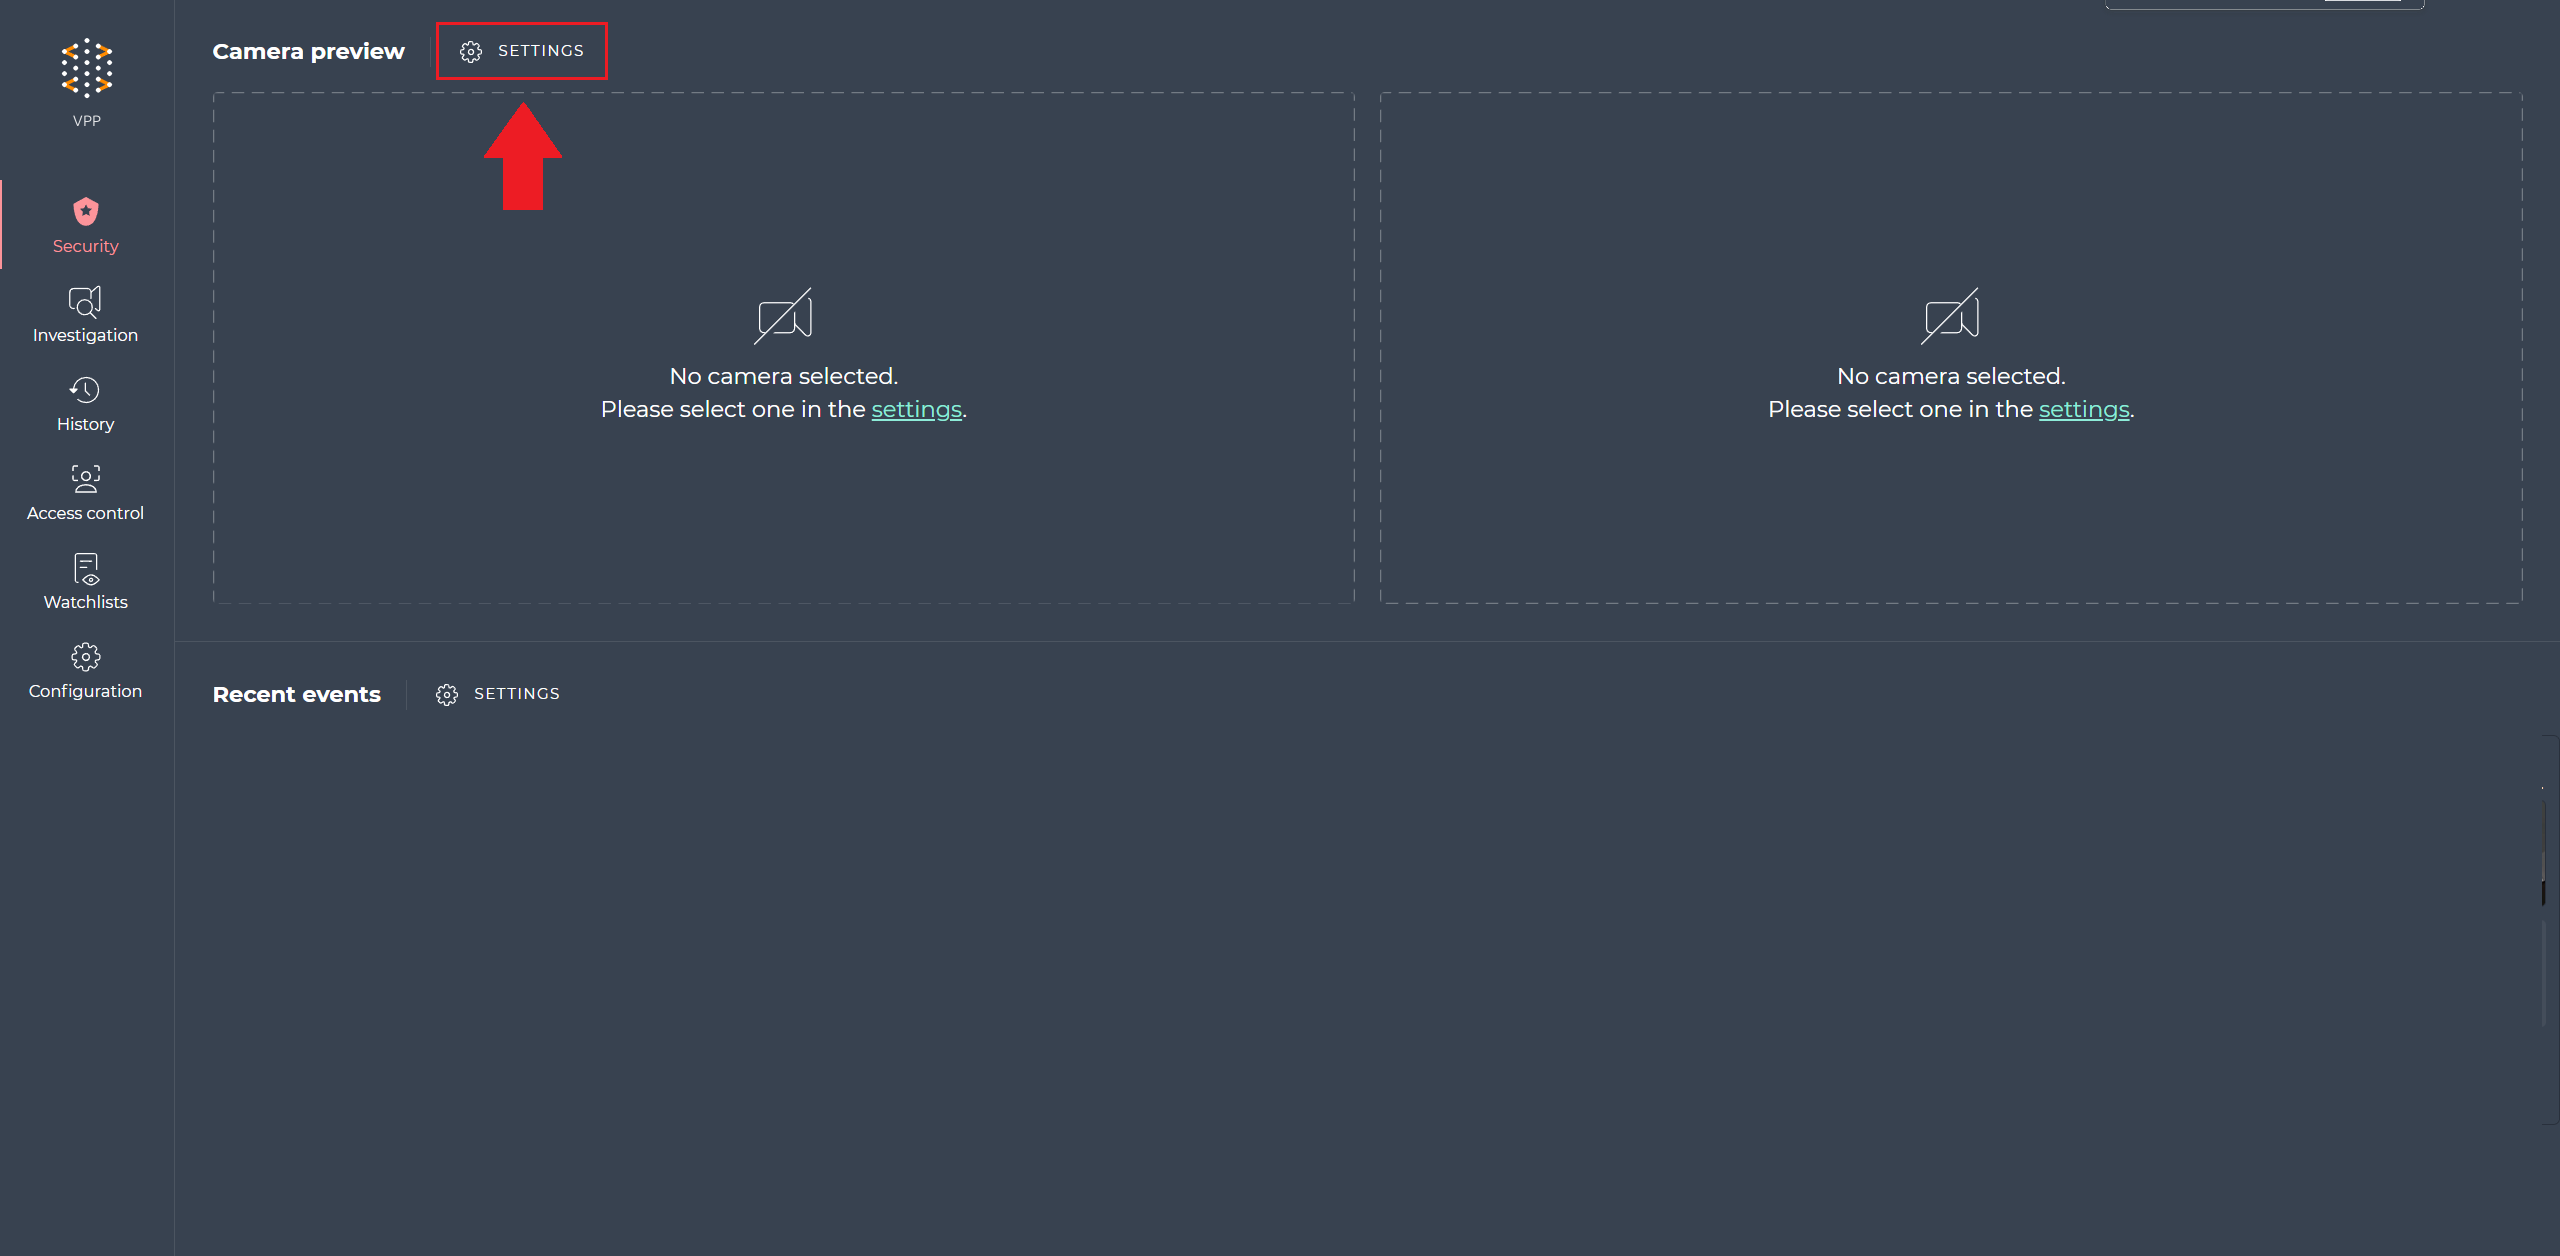
Open Security in the left menu. Click Settings next to Camera preview and pick your camera for the left or right preview slot (previews are available for RTSP cameras only).
-
Click Settings next to Recent events and switch your camera on so its events are shown.
-
Walk in front of the camera.
A match card appears under Recent events with the detected face, your enrollment photo and the score. Click it to open the details: name, watchlist, camera, time, age and gender estimate, face size, mask status and head angles.
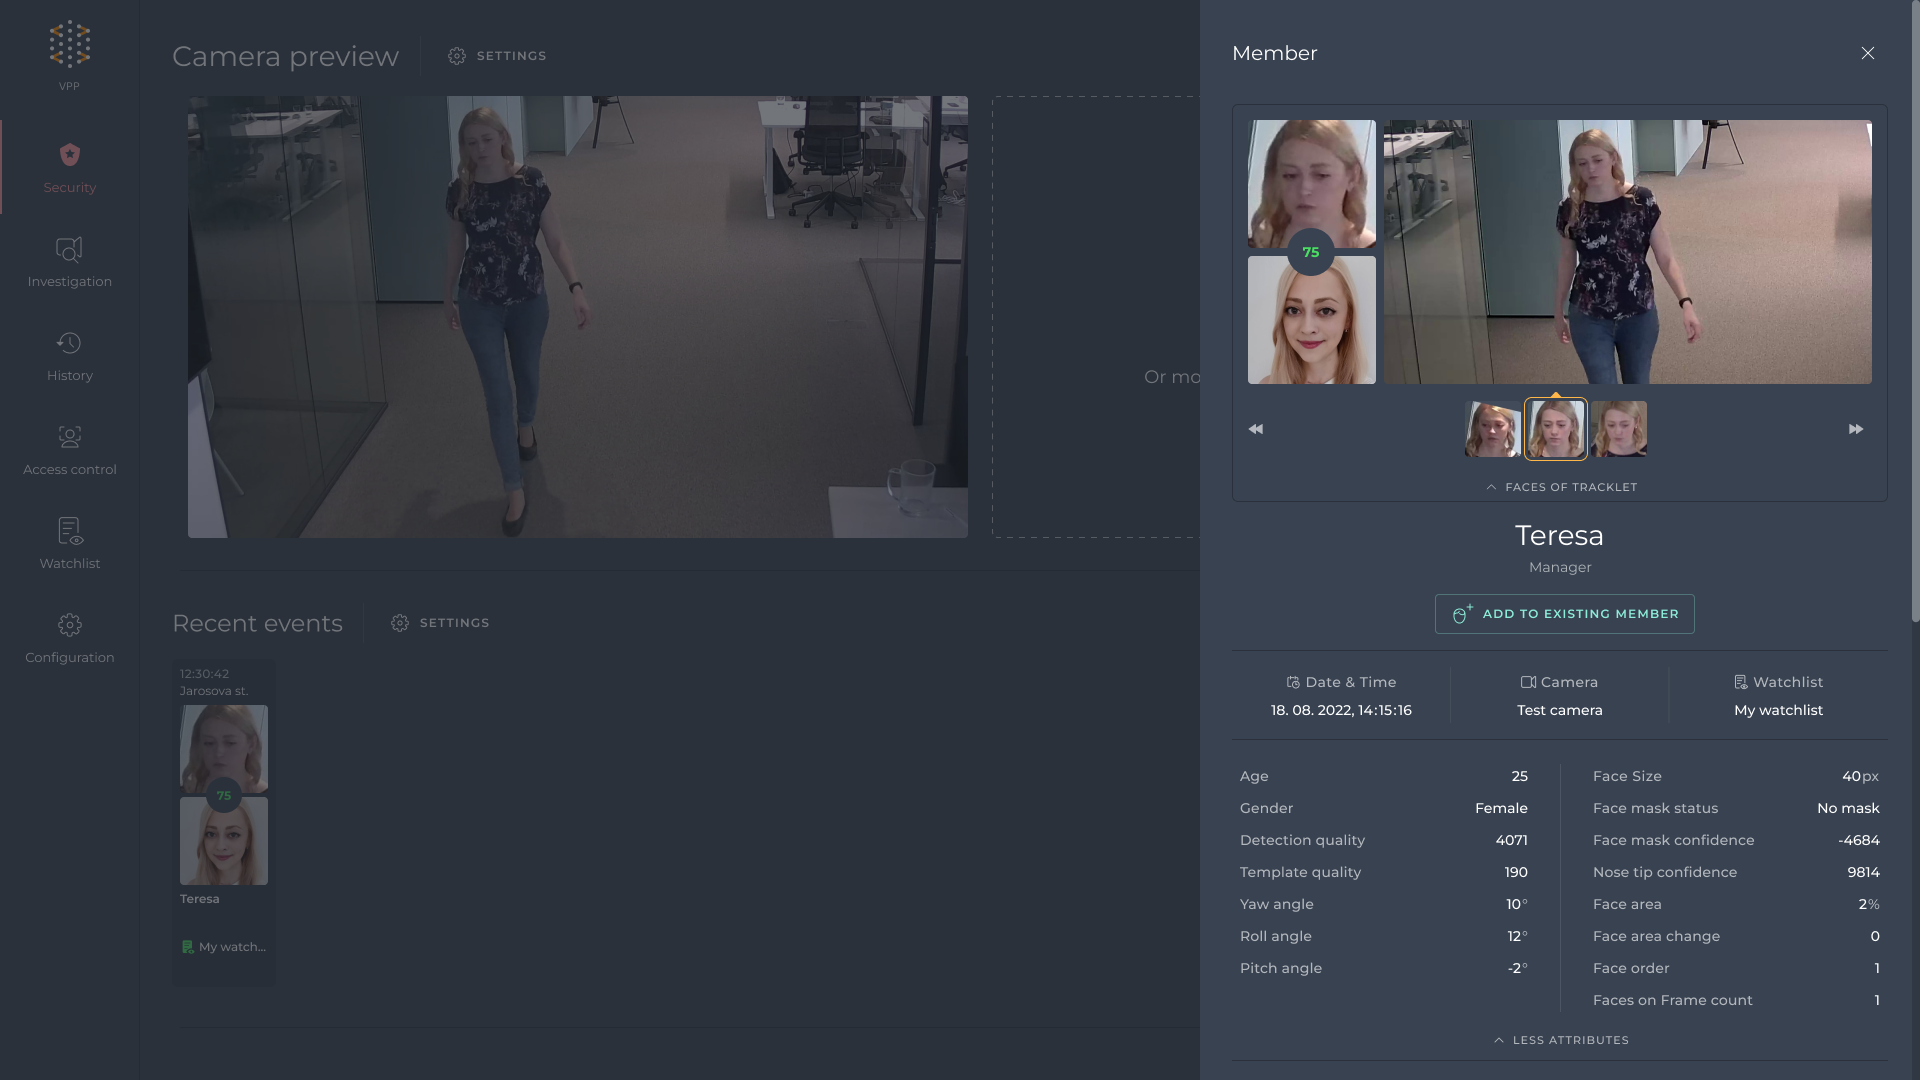
The same event is listed on the History page, where you can filter and search all past detections and matches. See Live monitoring and Event history.
Next steps
- Receive the same match in your own software: Integration.
- Understand what the server did between the frame and the match: Face processing pipeline.
- Using edge cameras: synchronize watchlists to the devices, see Edge watchlist synchronization.